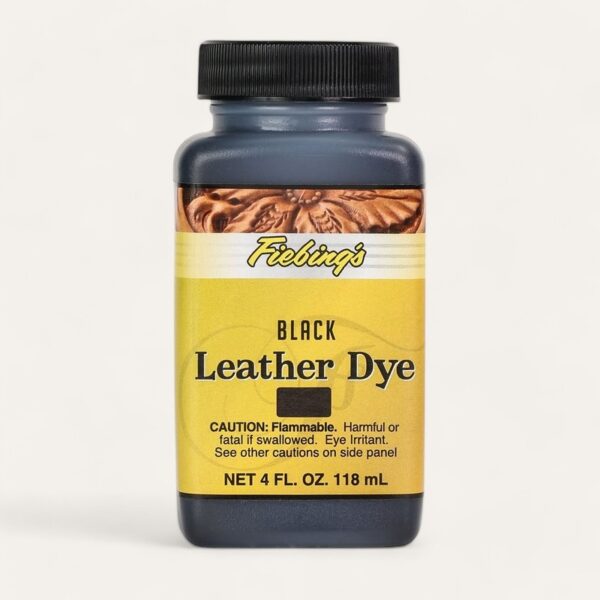
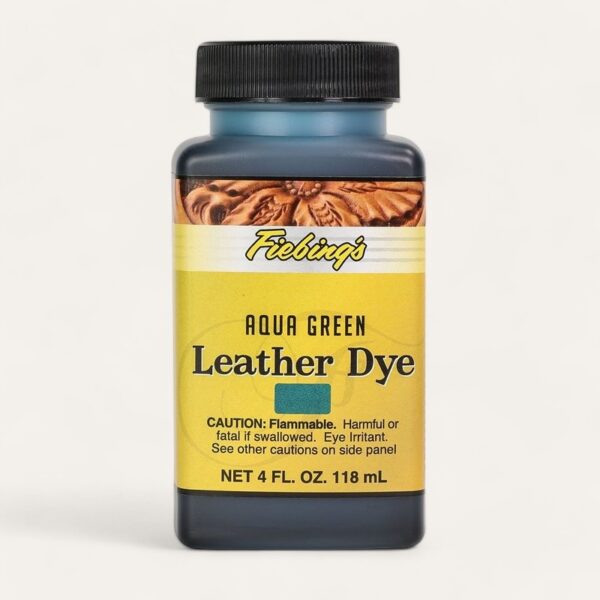
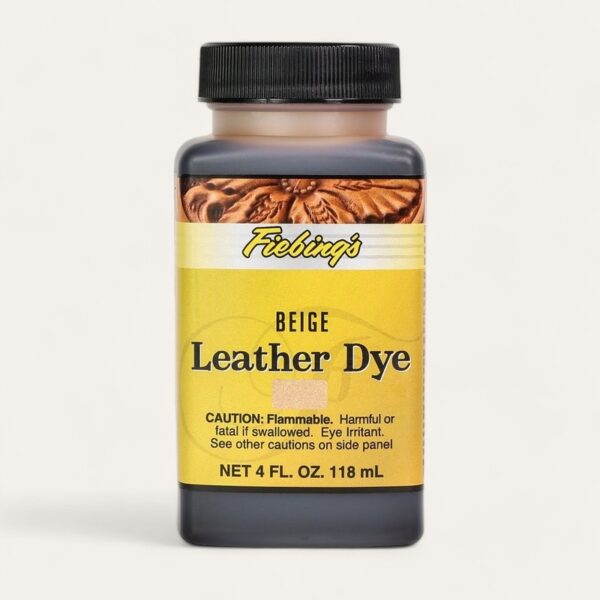
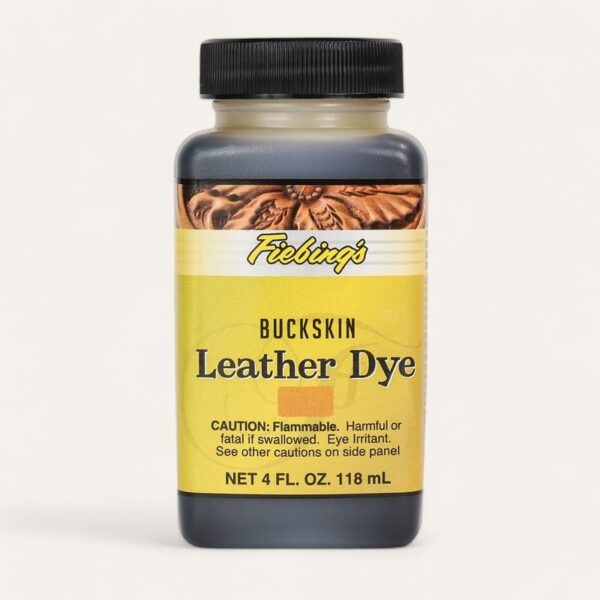
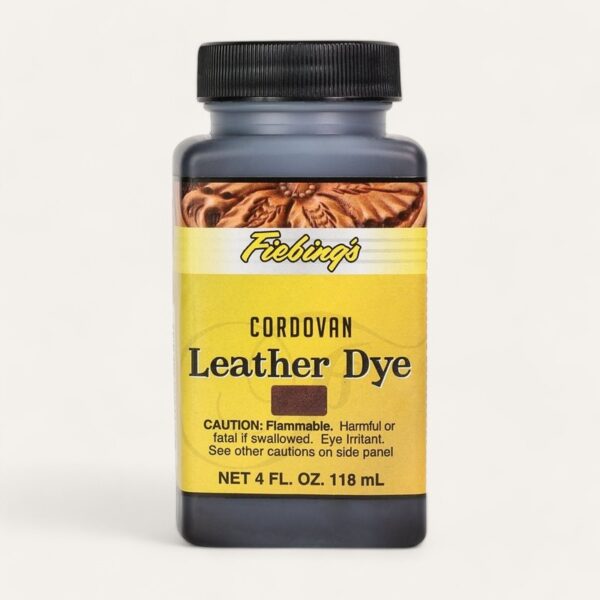
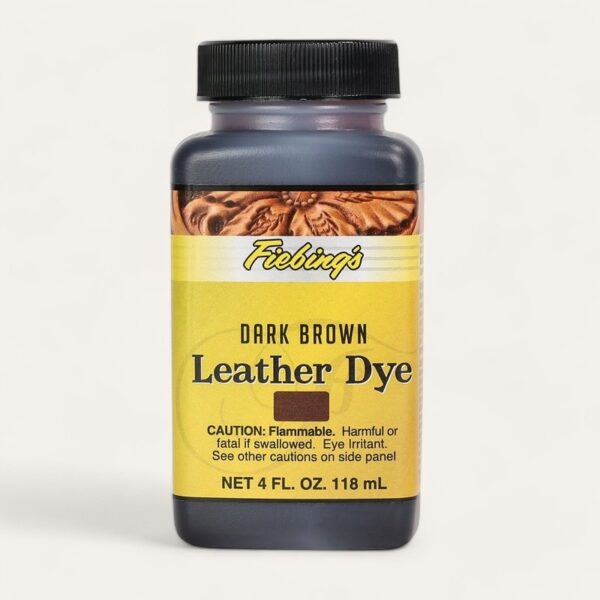
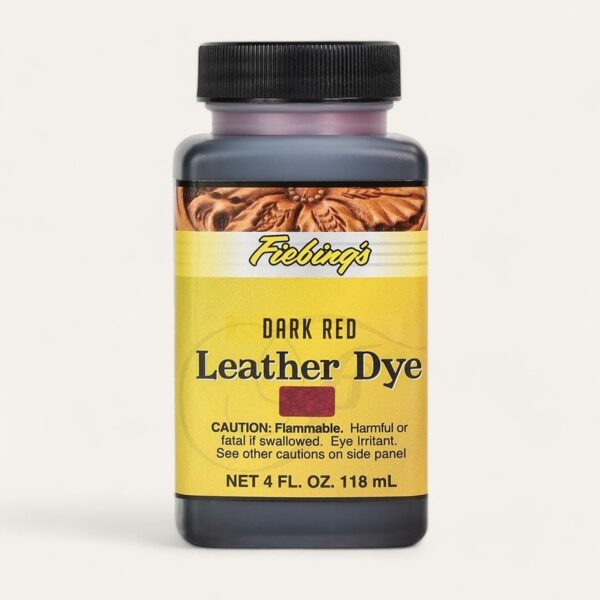
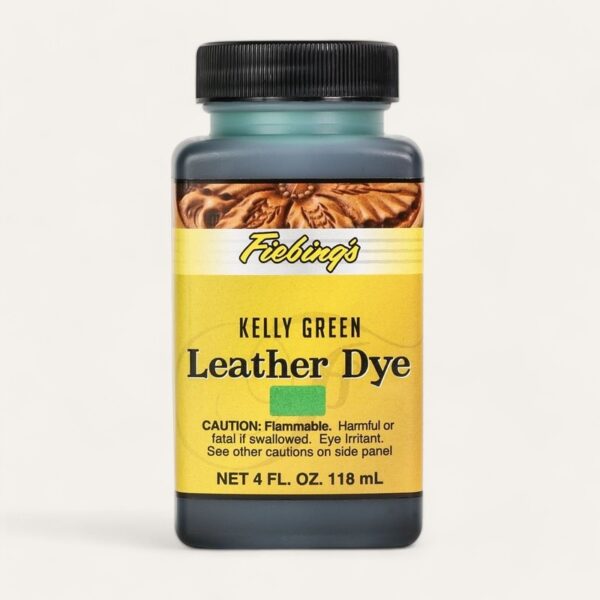
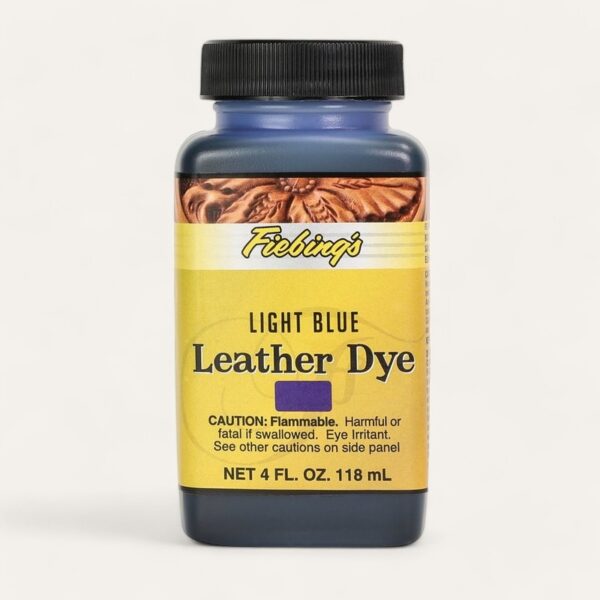
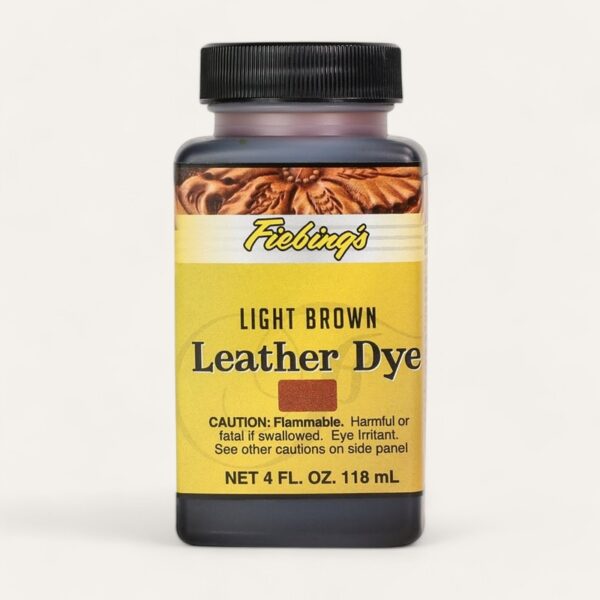
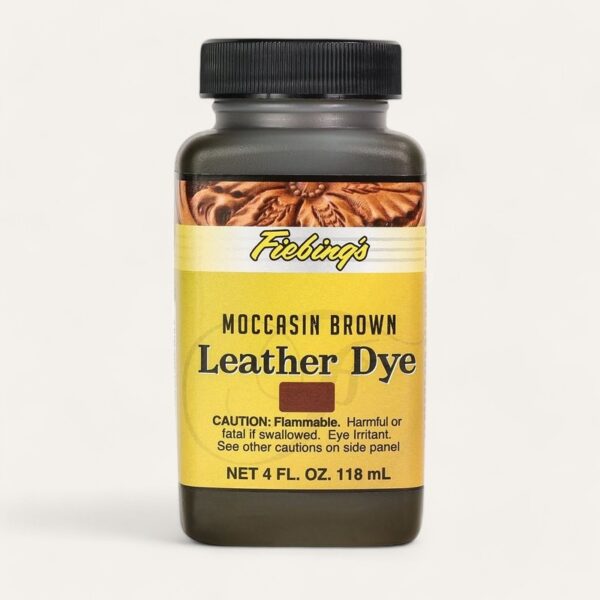
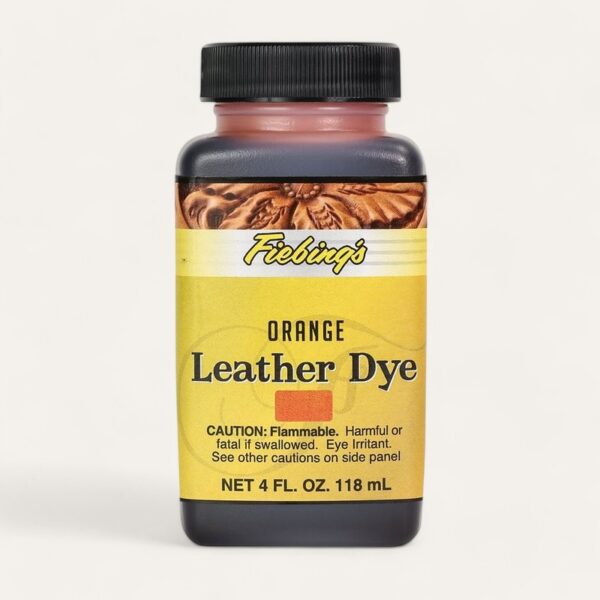
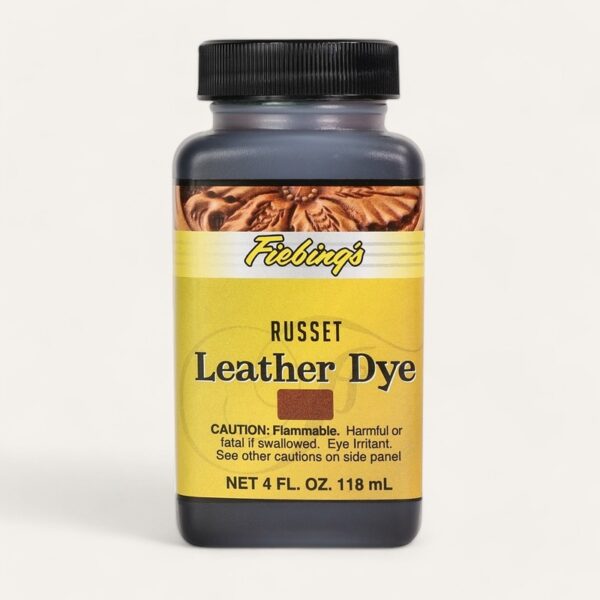
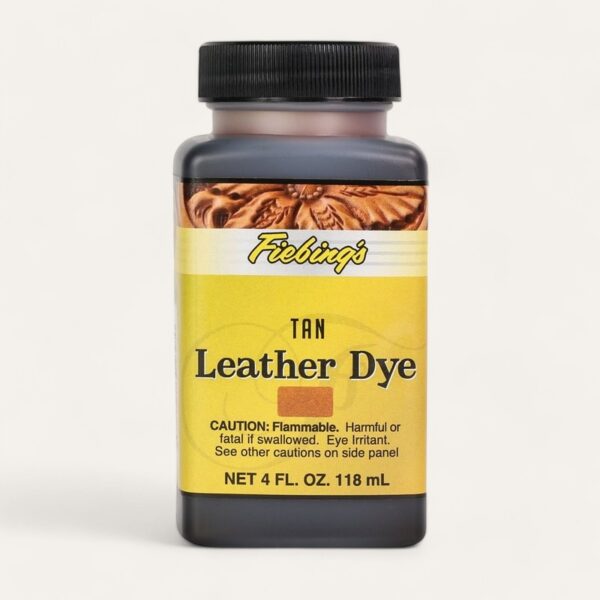
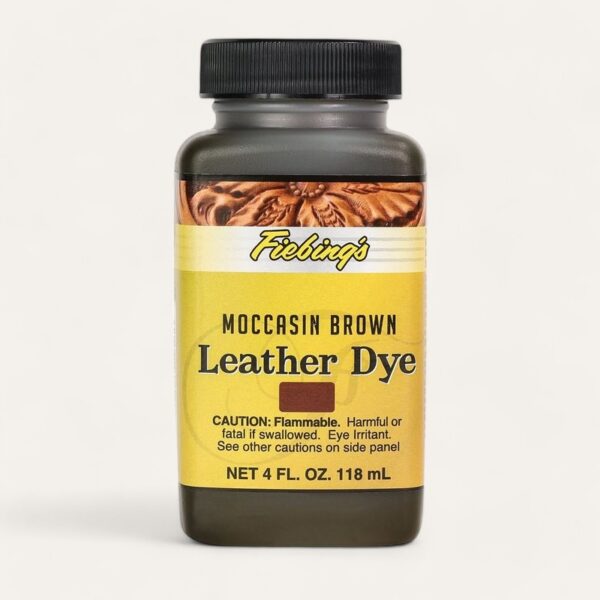
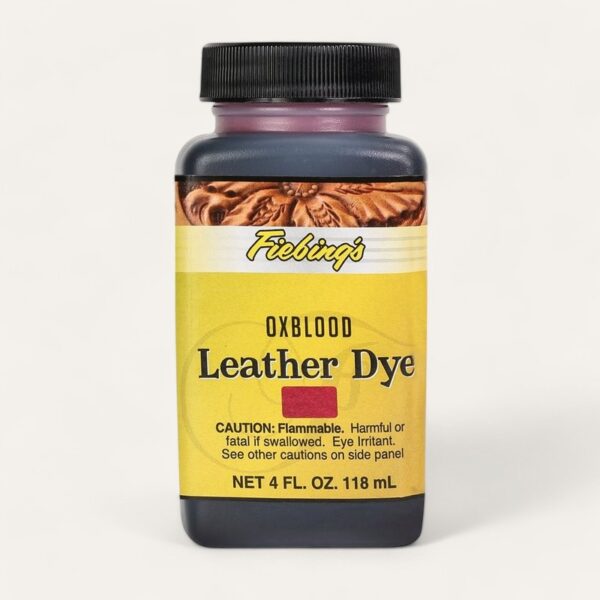
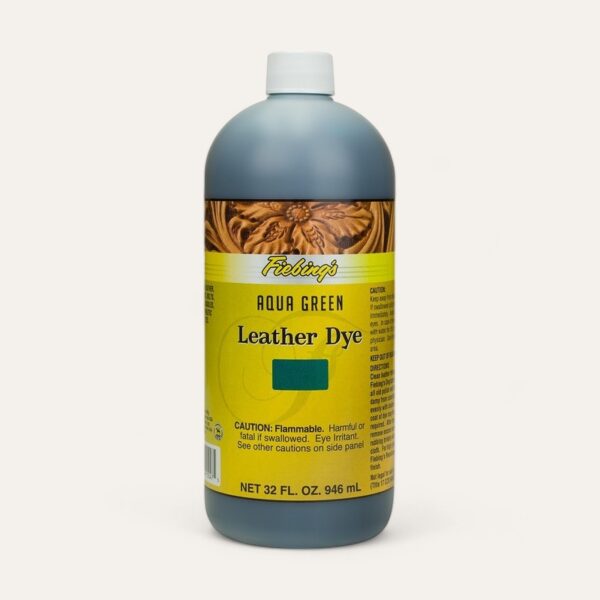
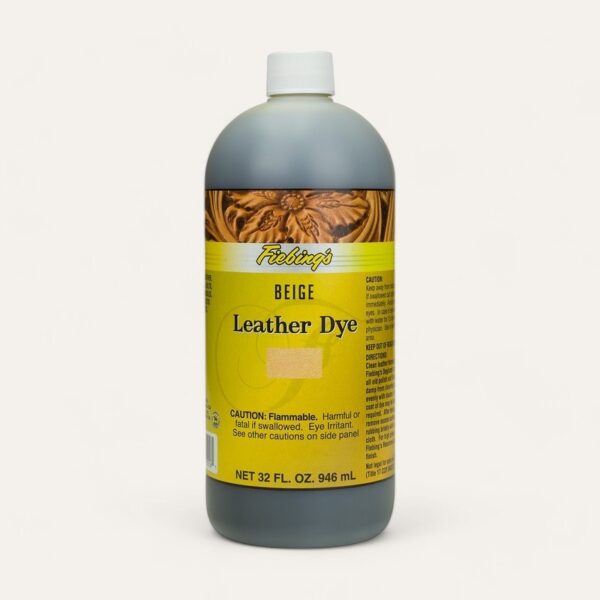
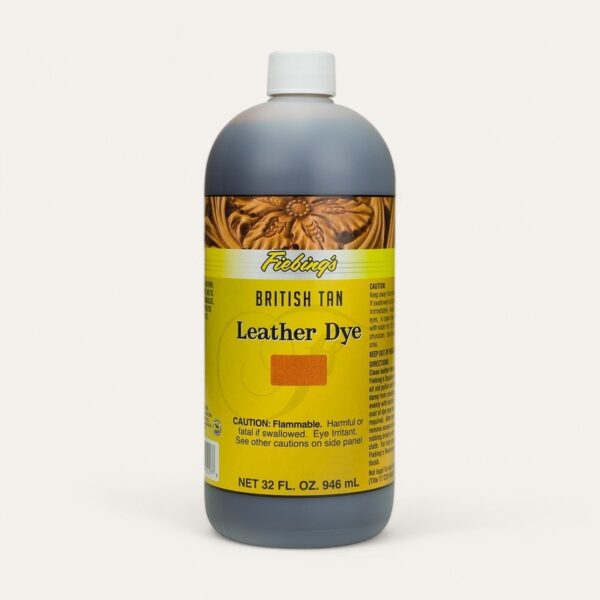
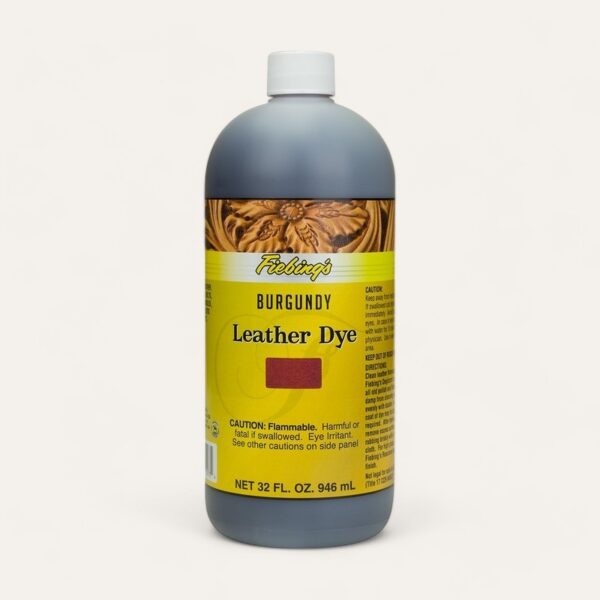
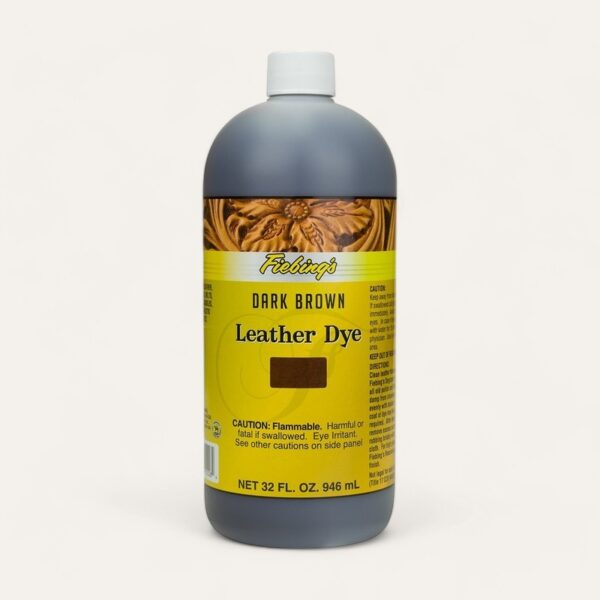
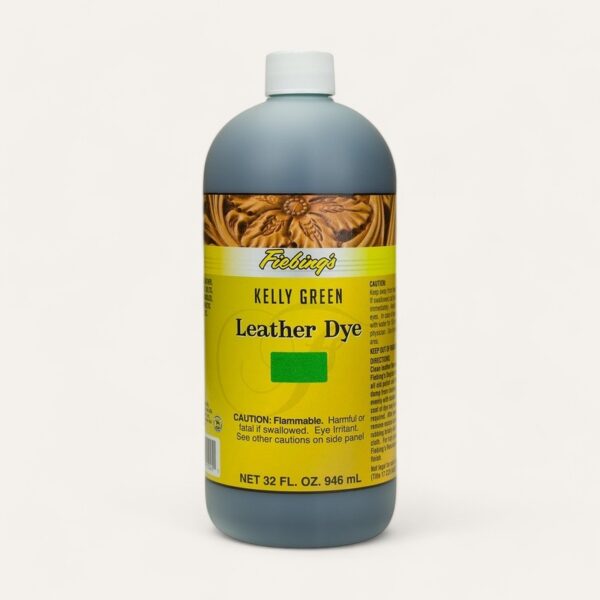
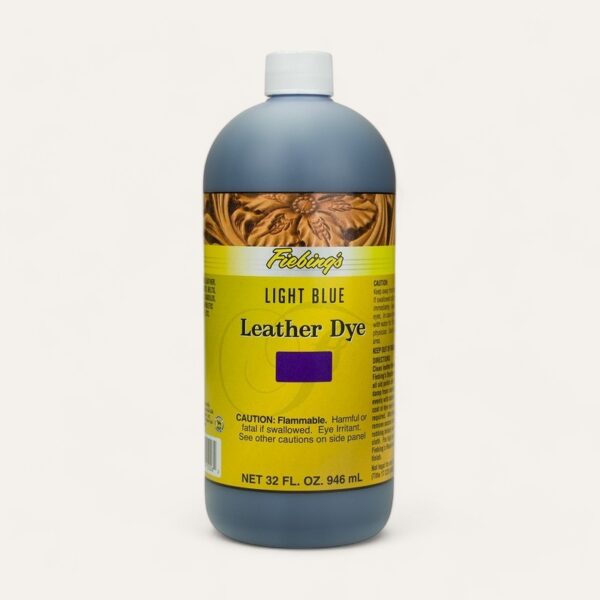
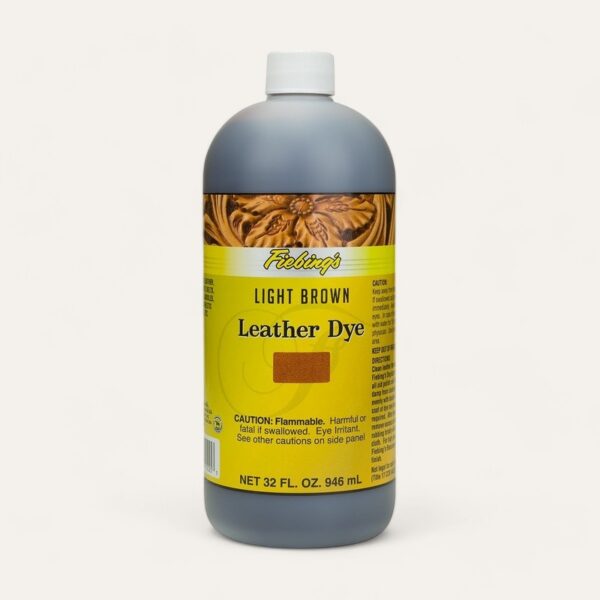
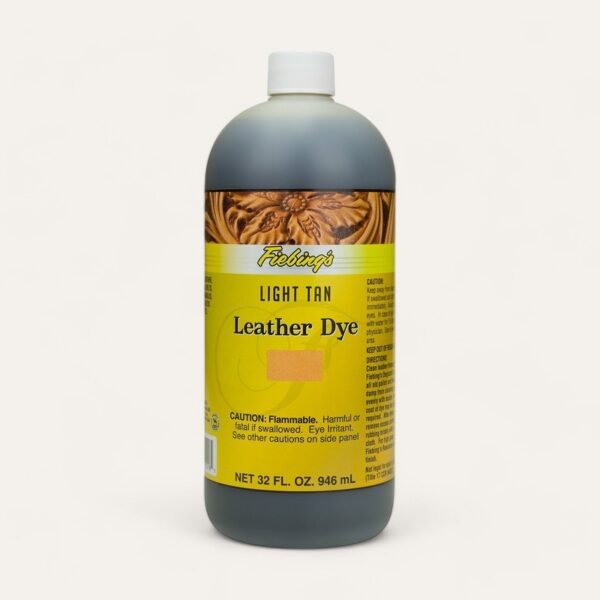
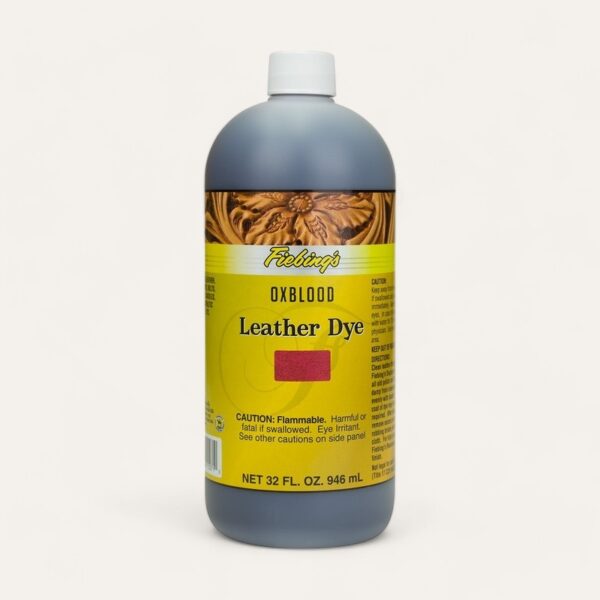
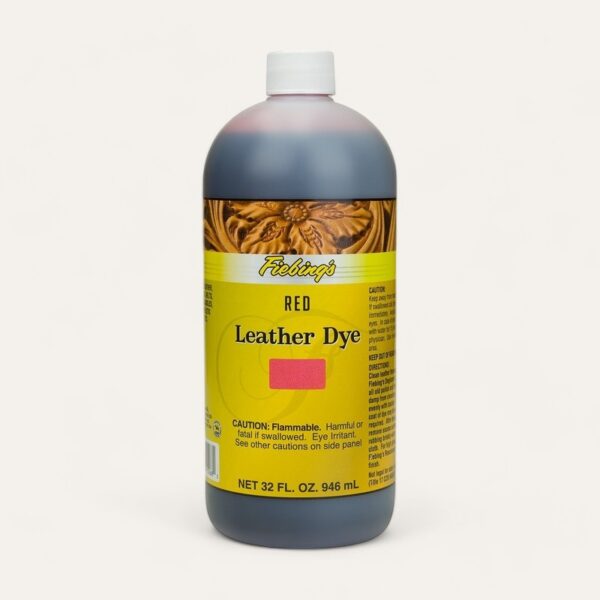
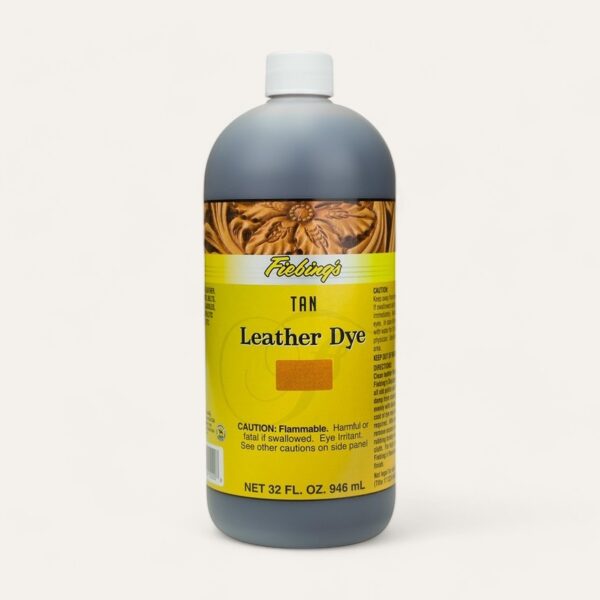
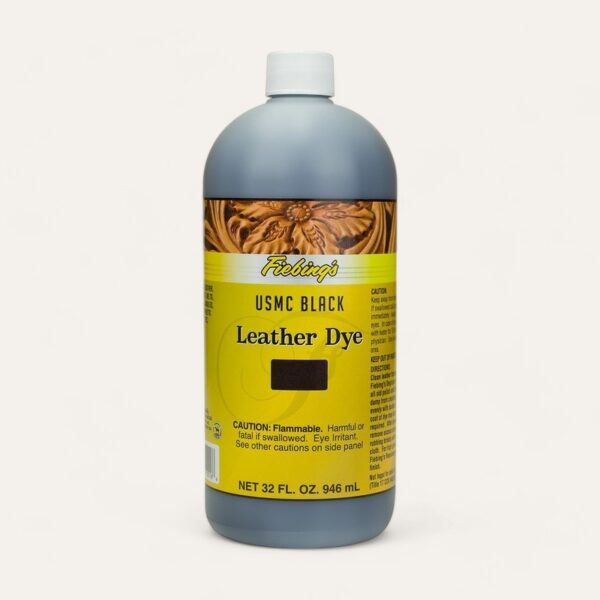
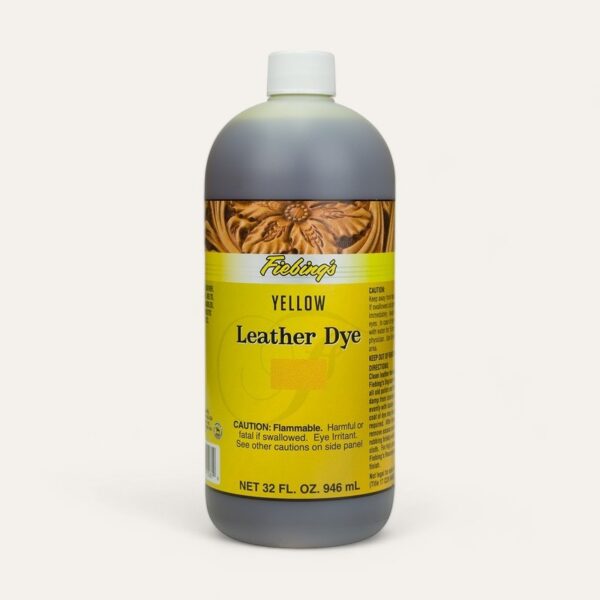
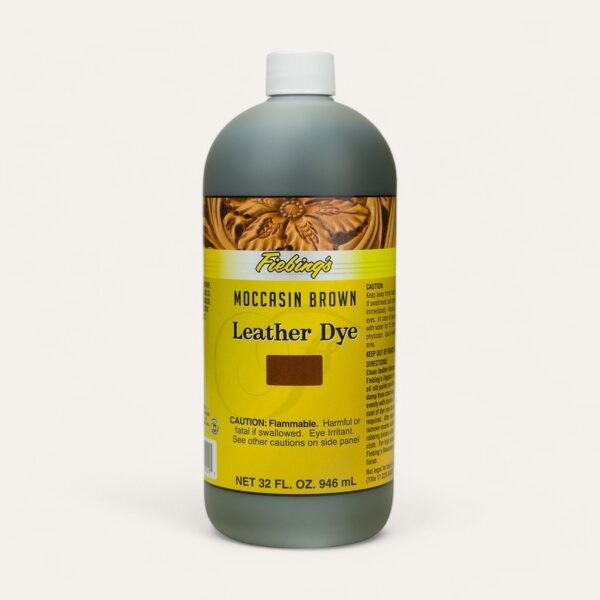
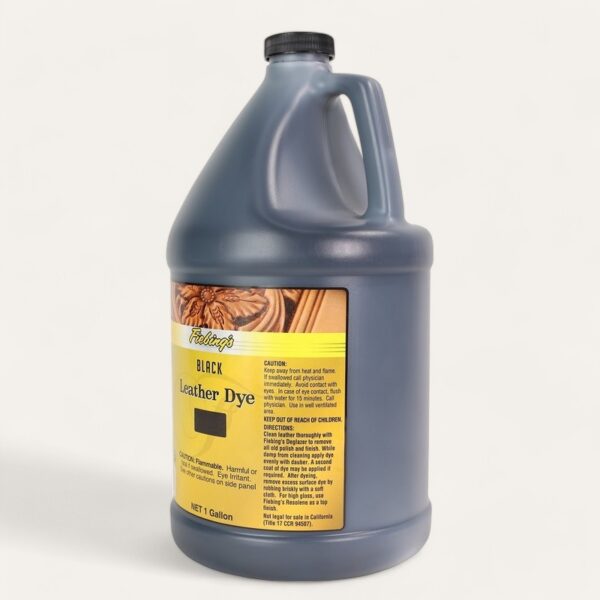
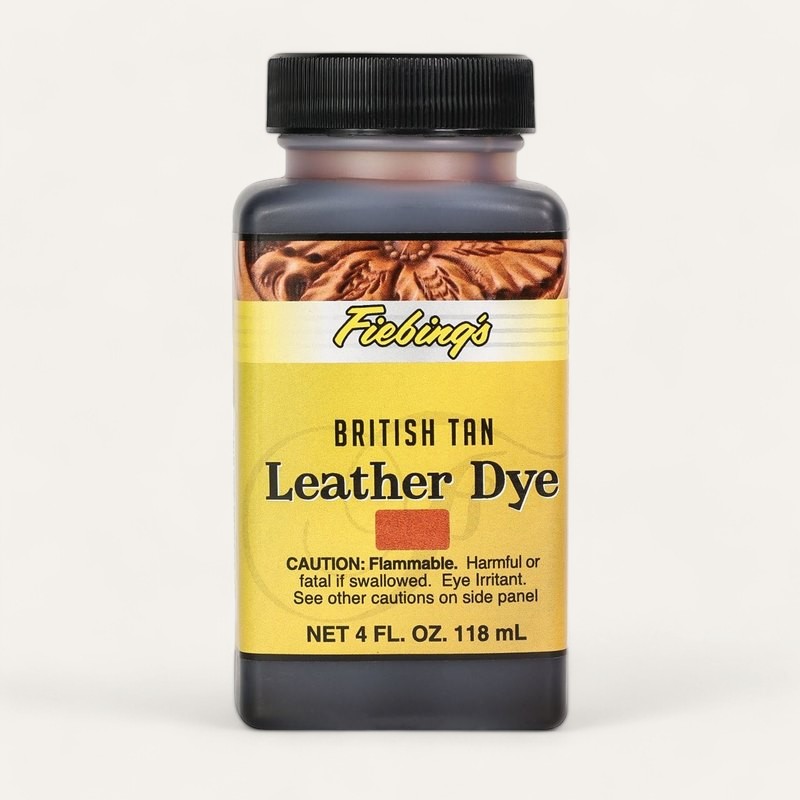
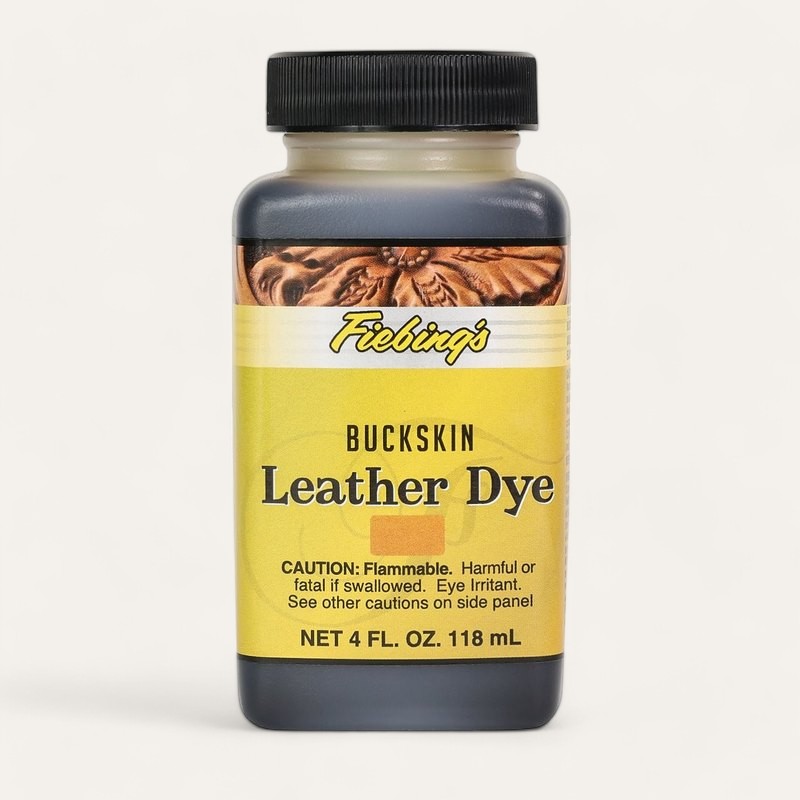
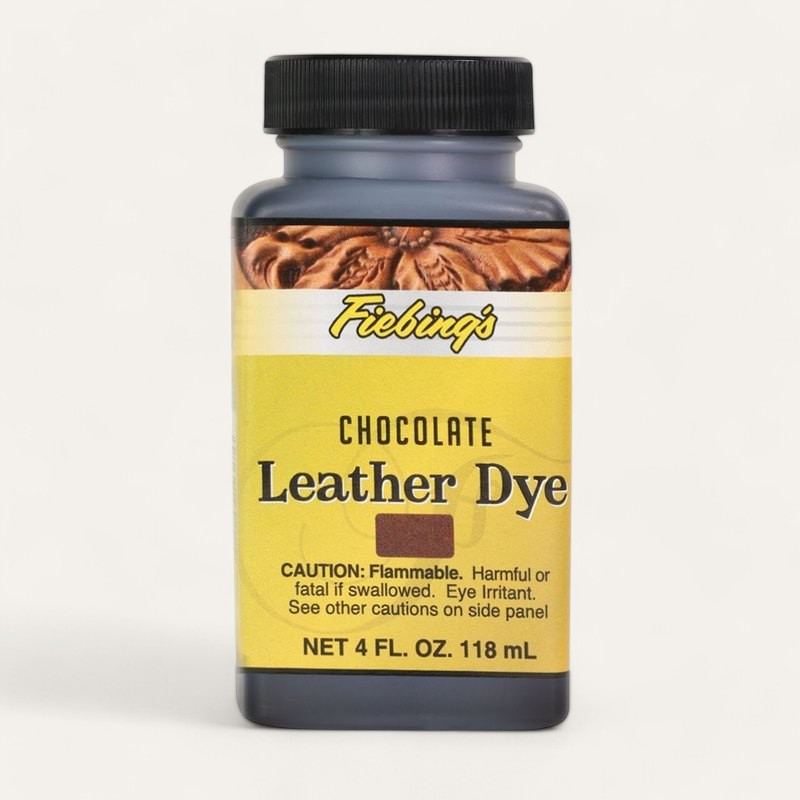
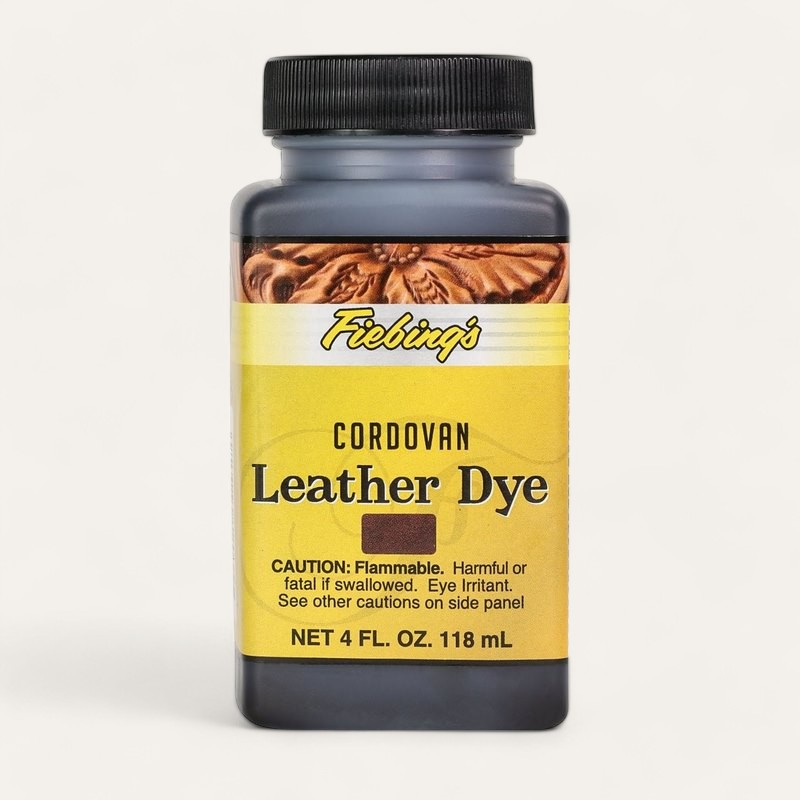
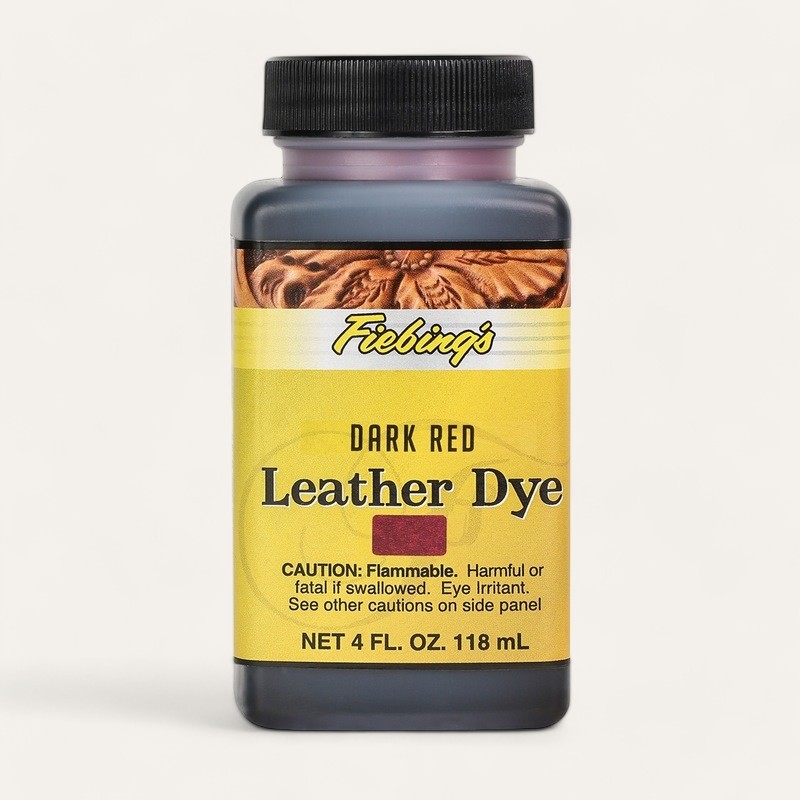
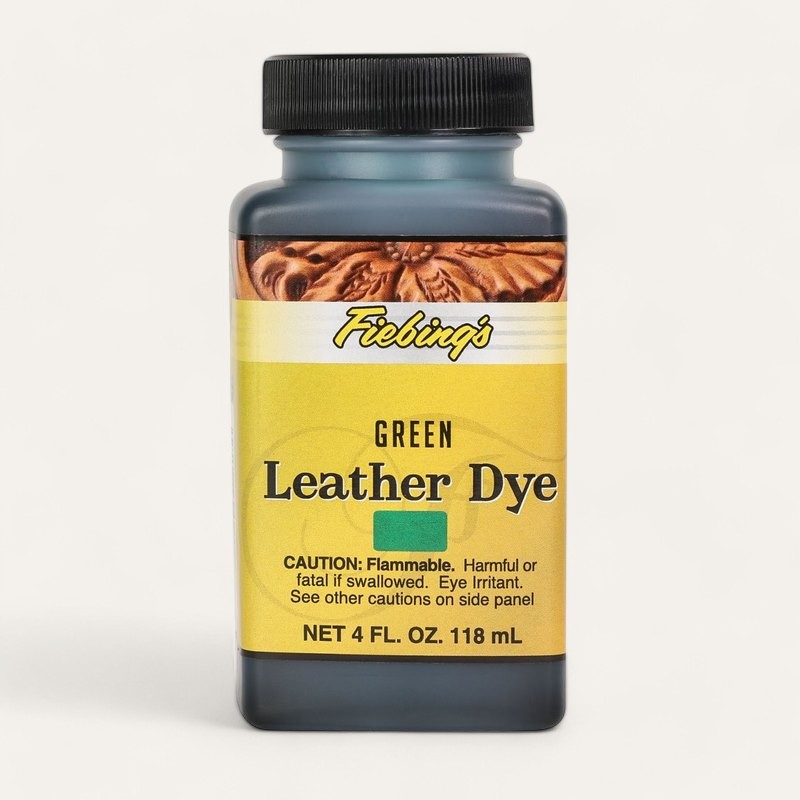
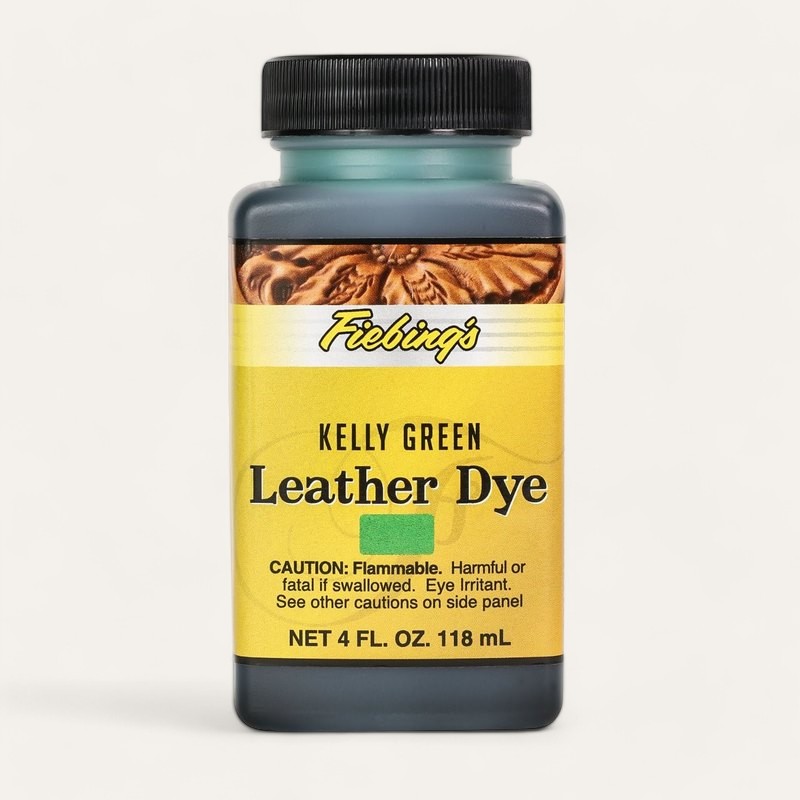
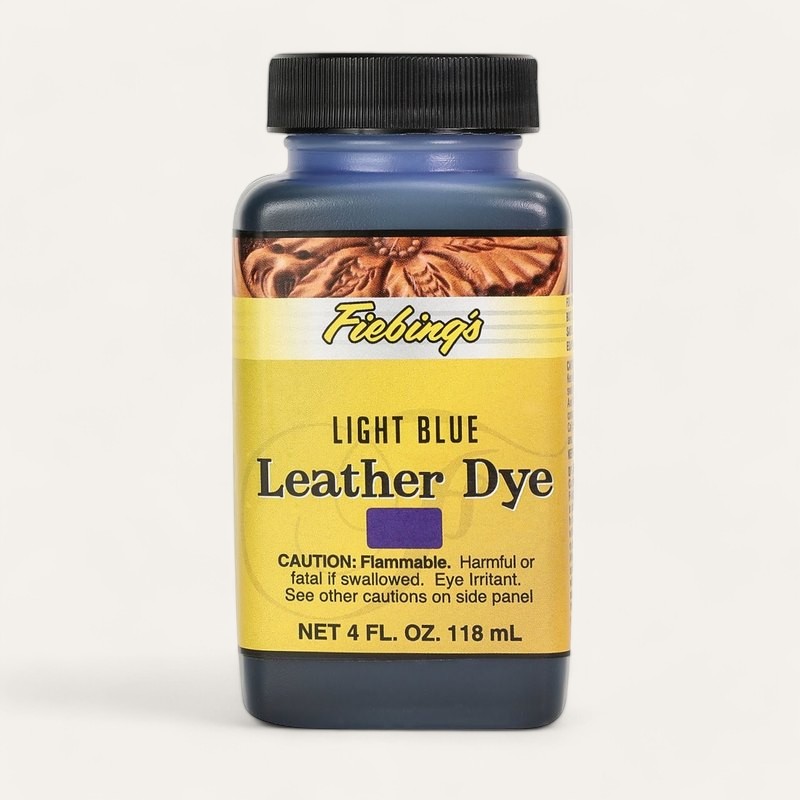
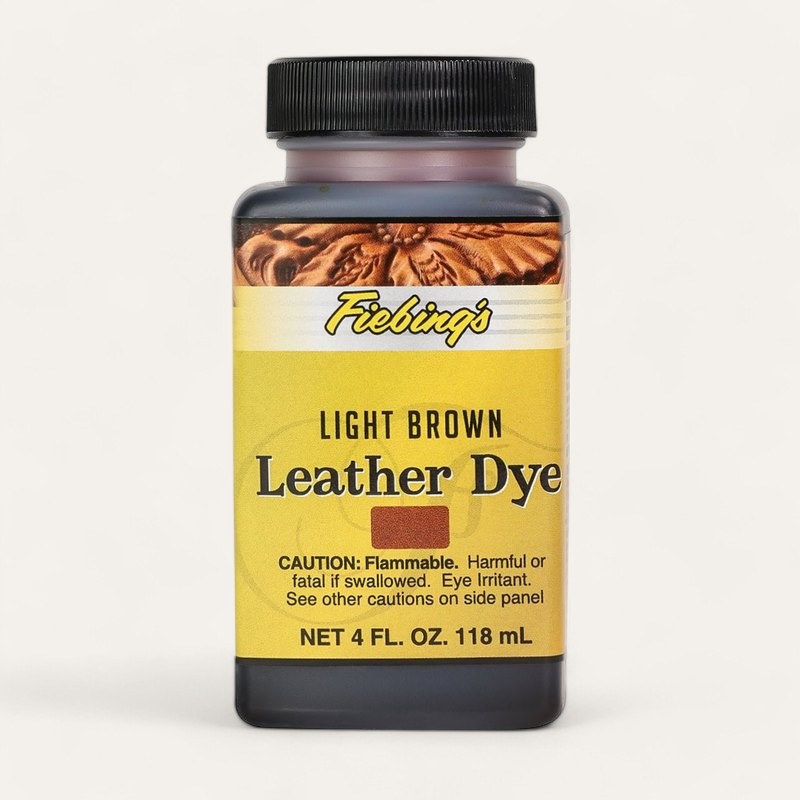
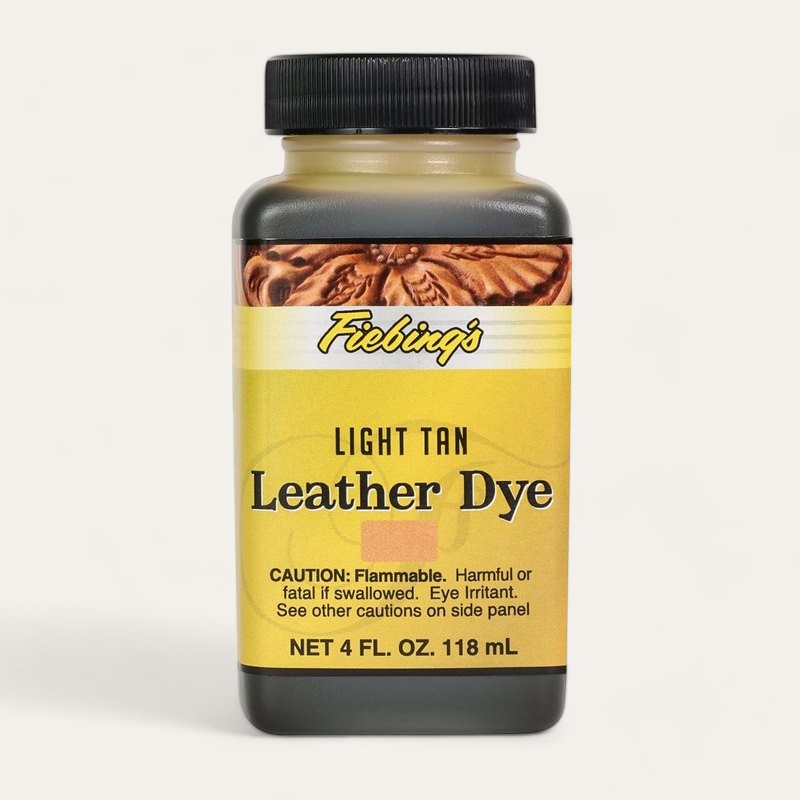
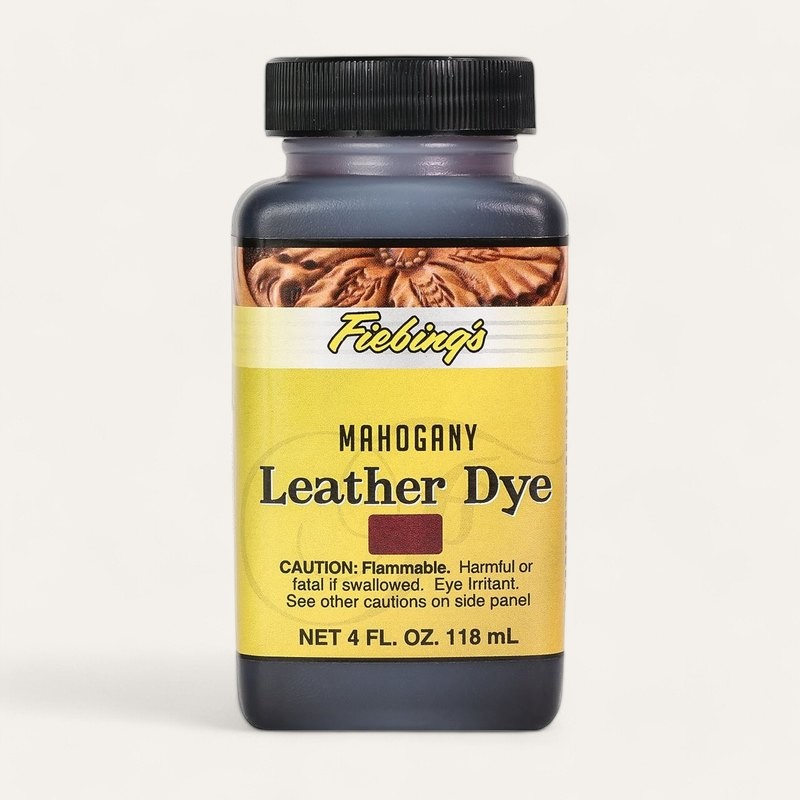
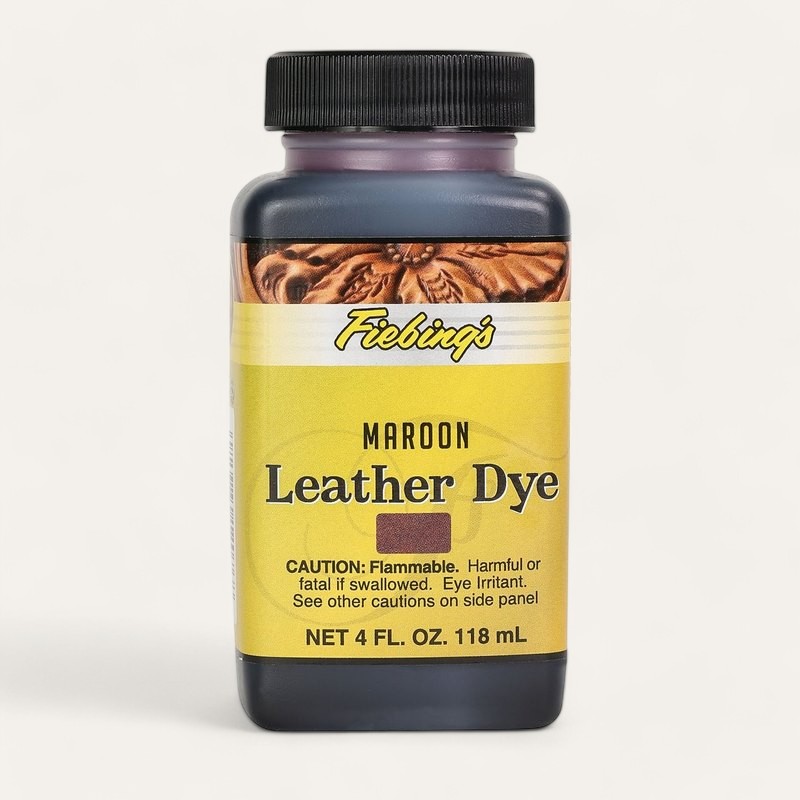
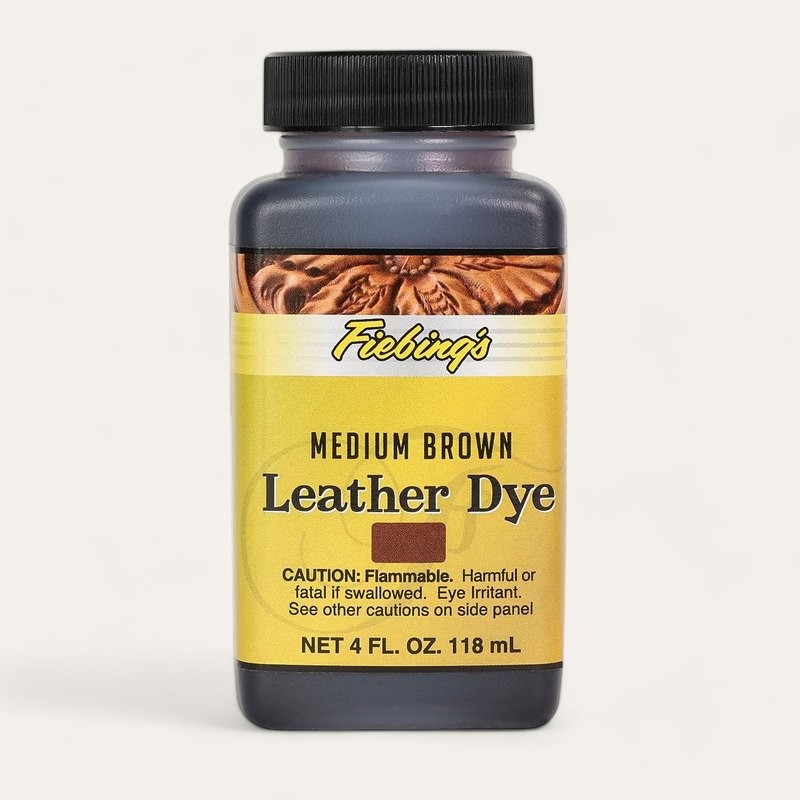
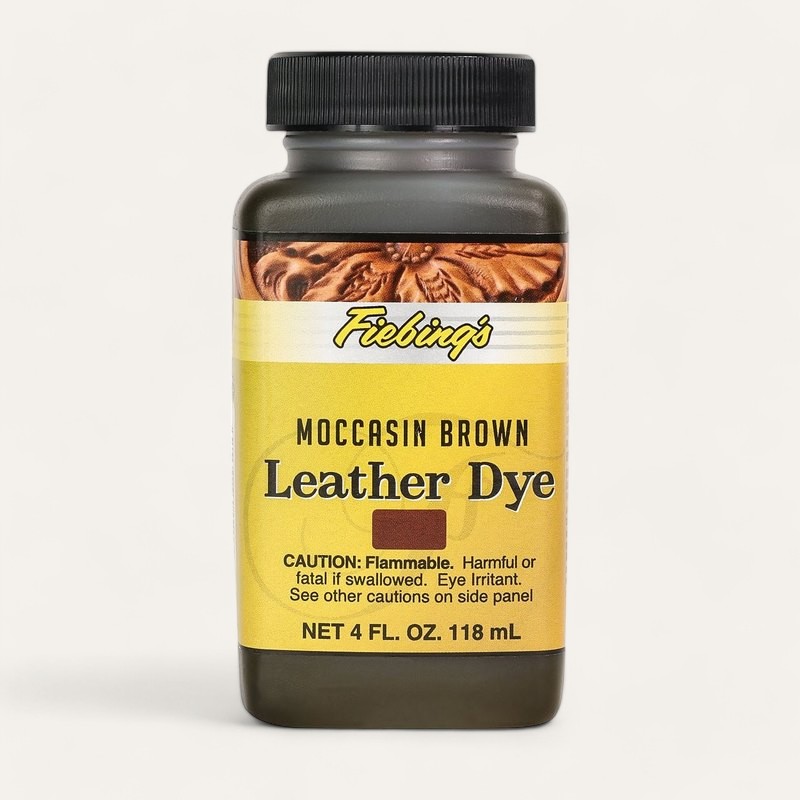
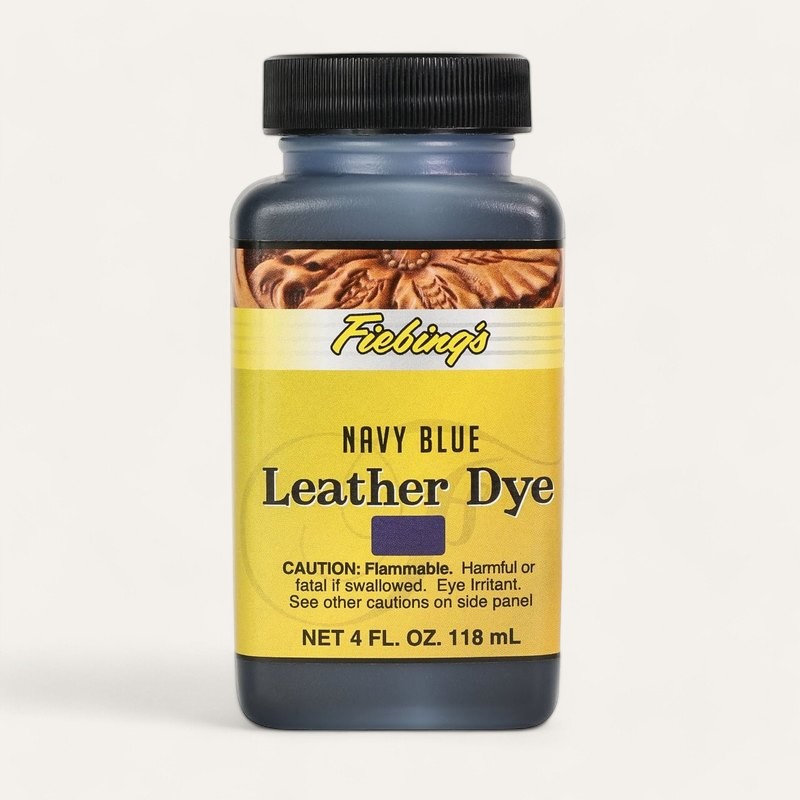
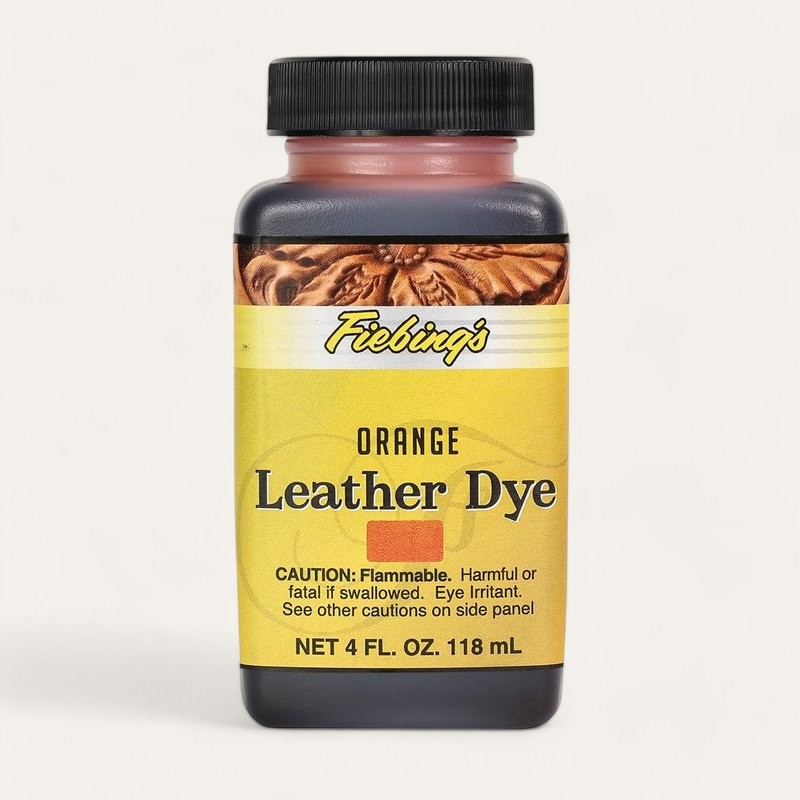
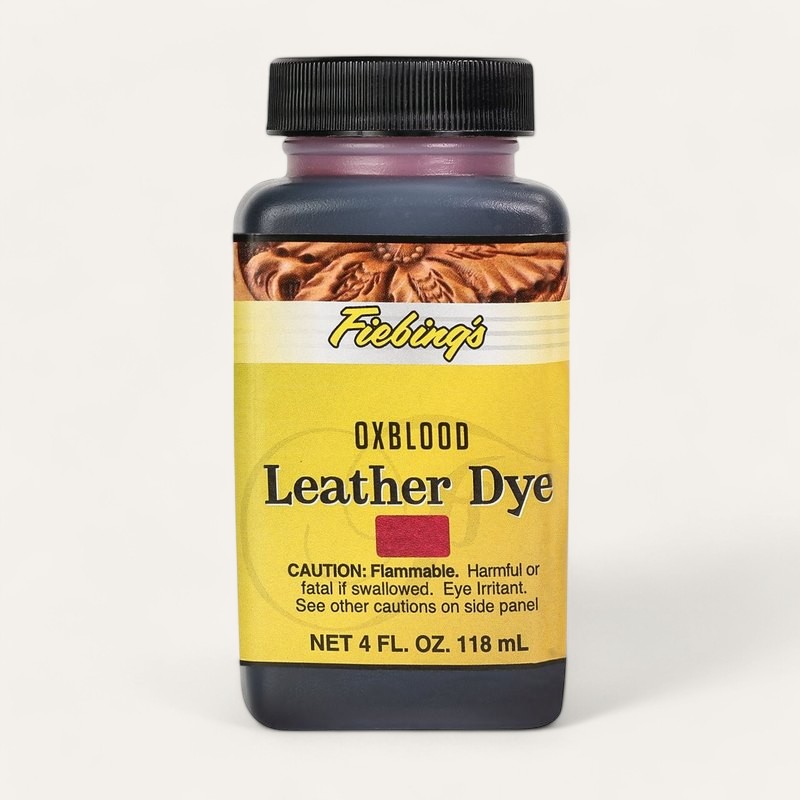
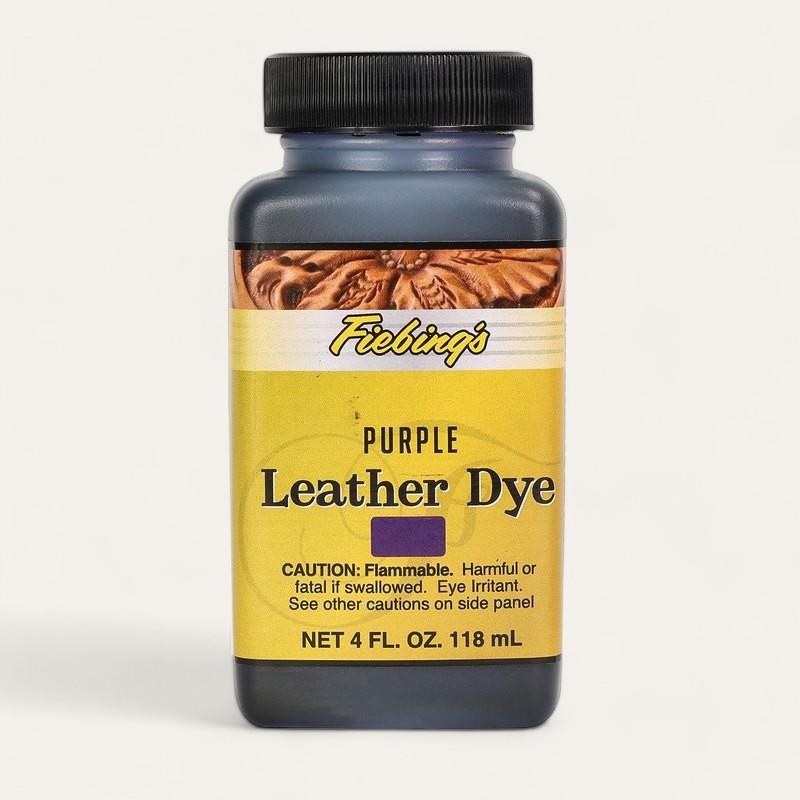
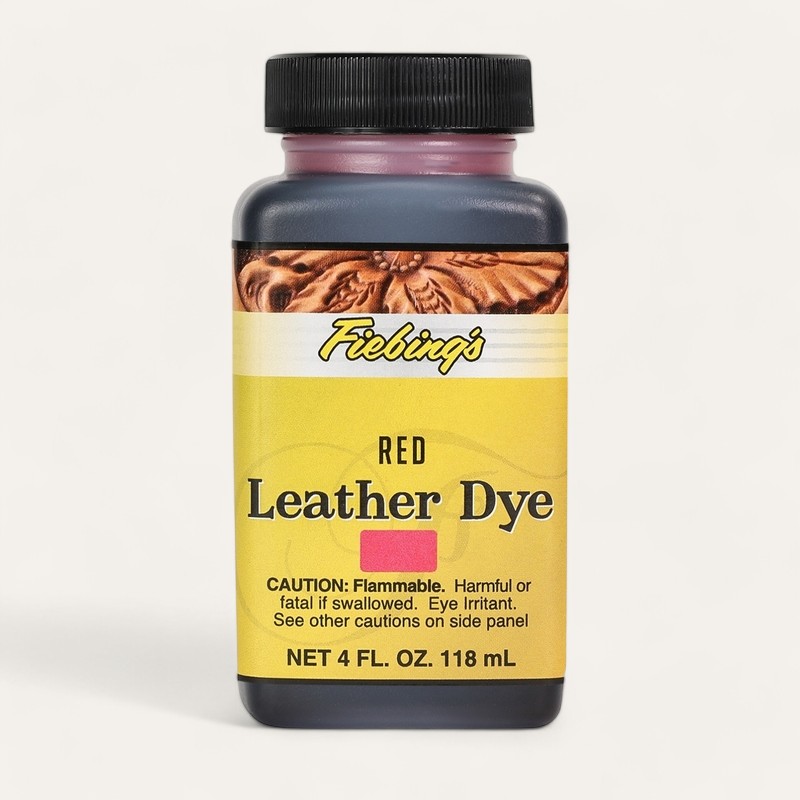
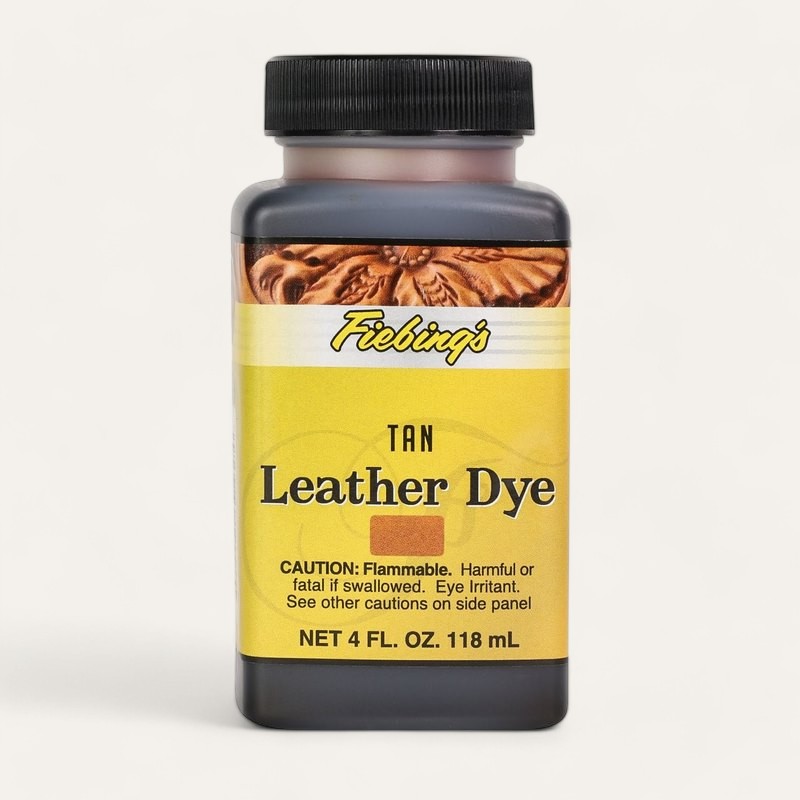
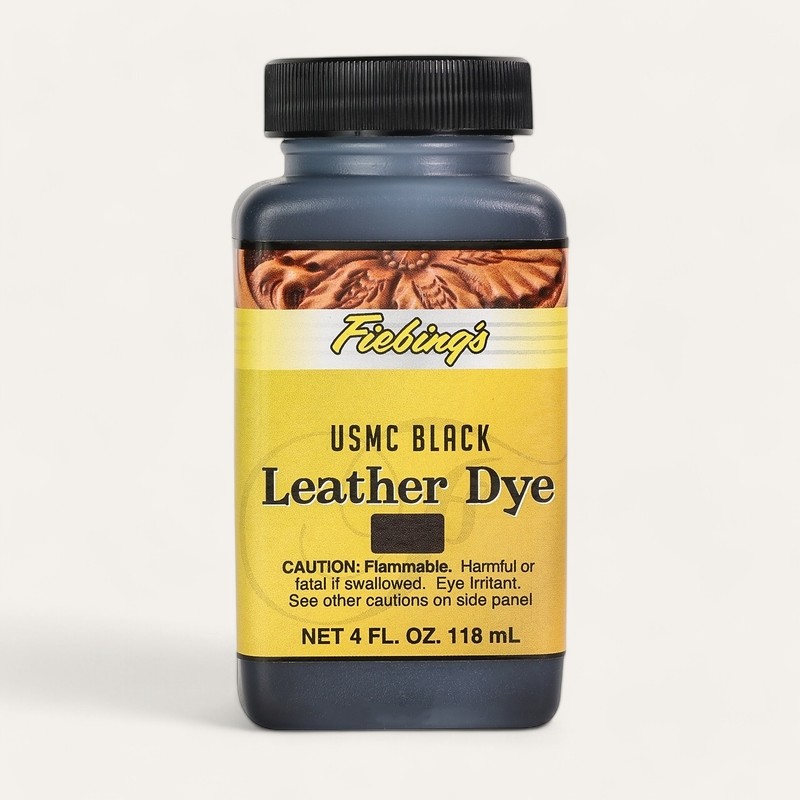
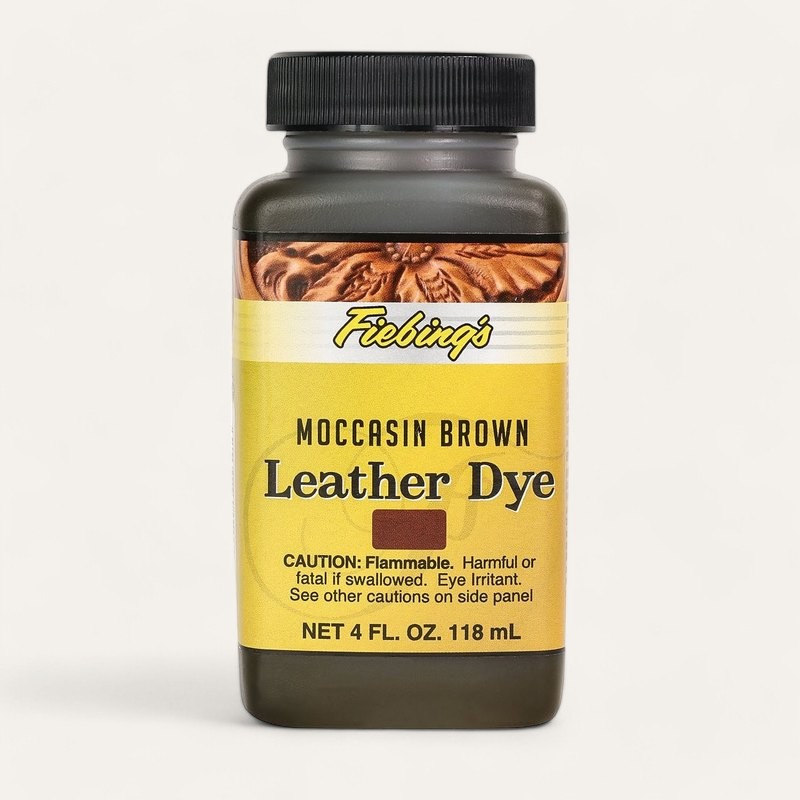
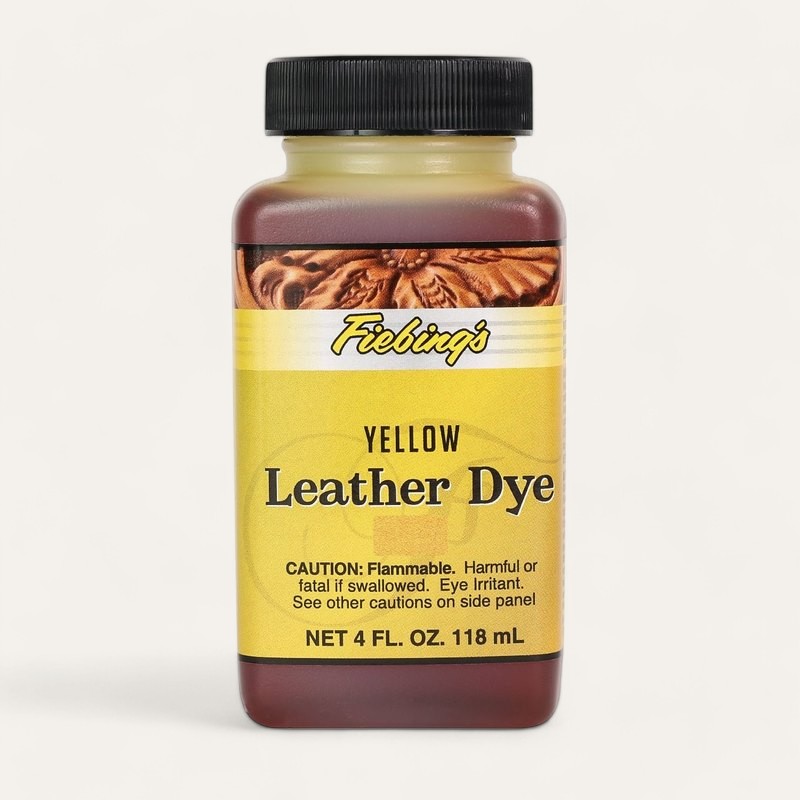
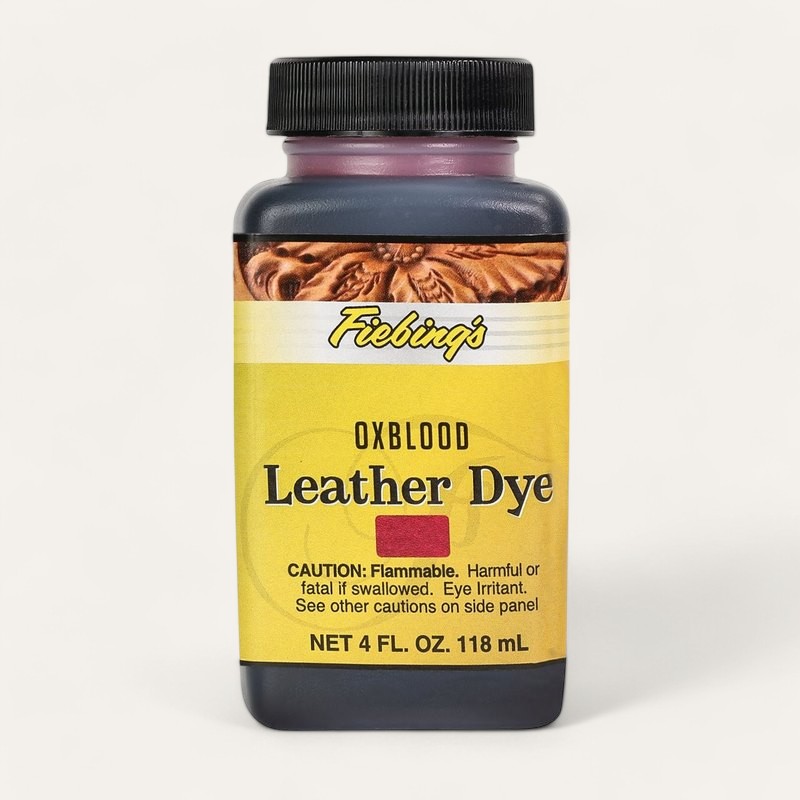
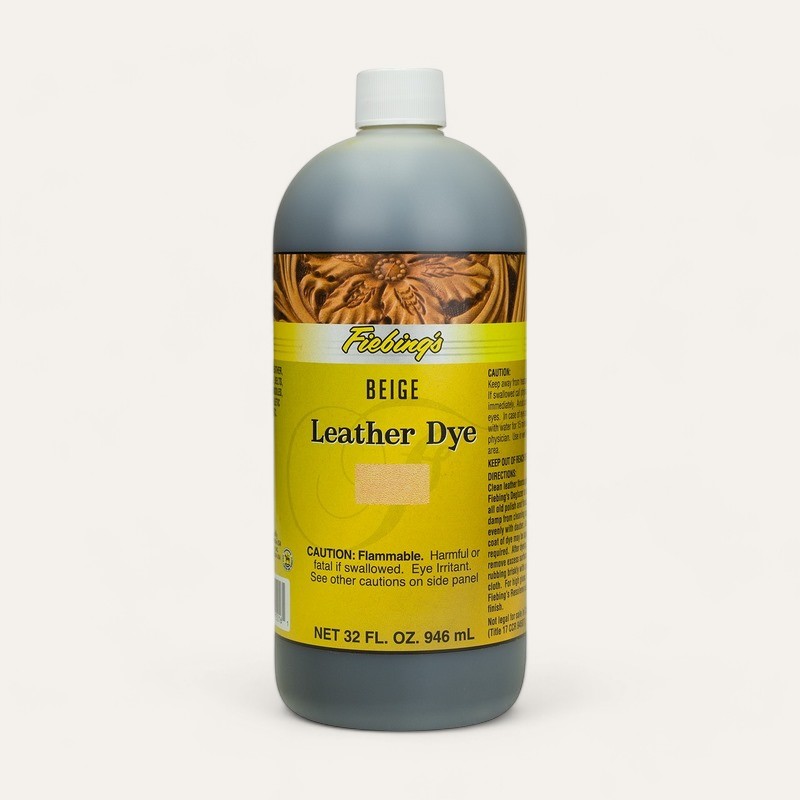
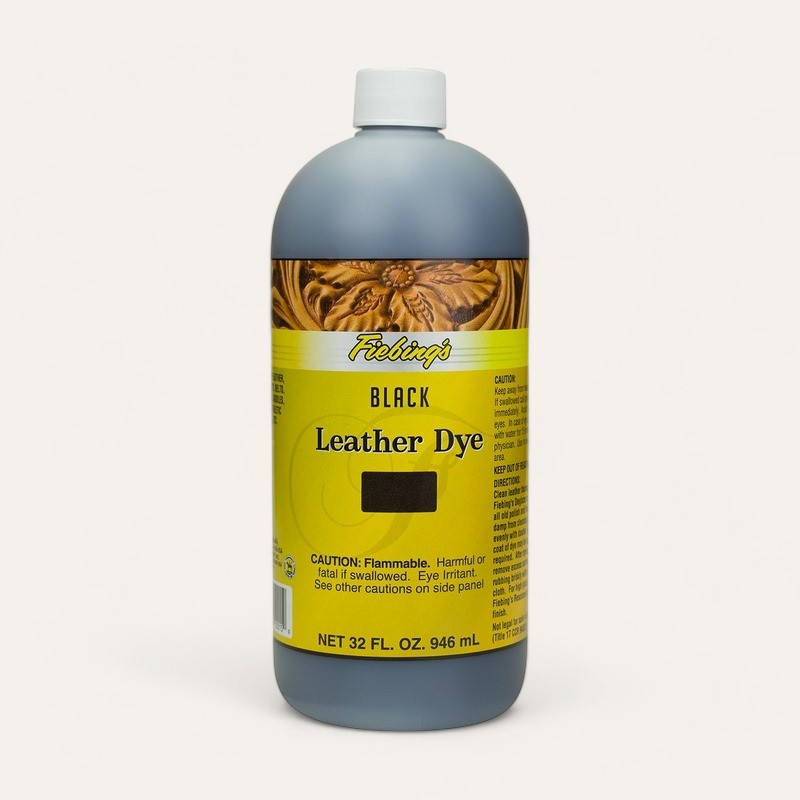
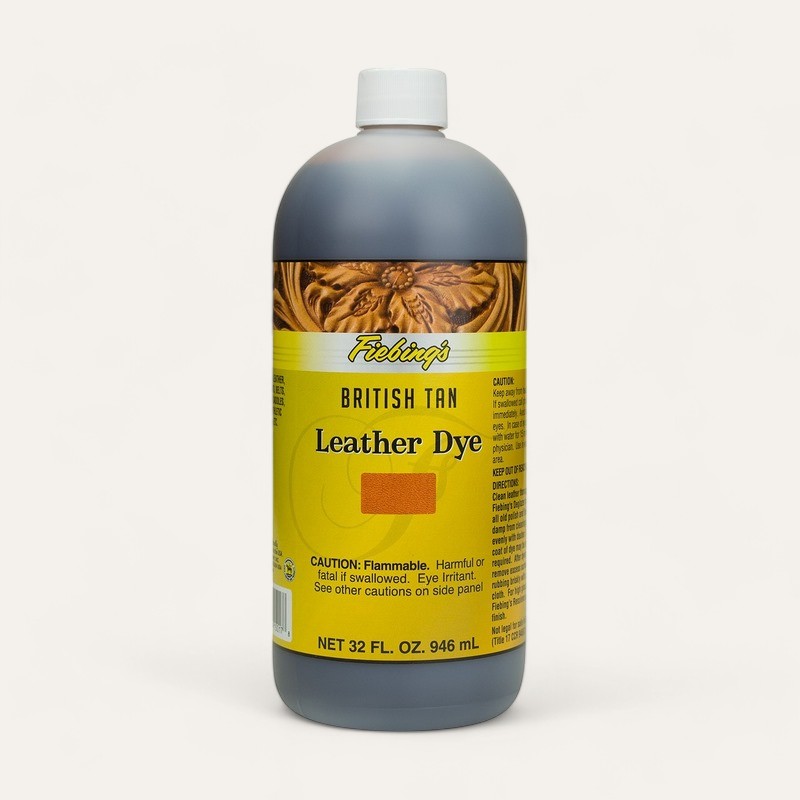
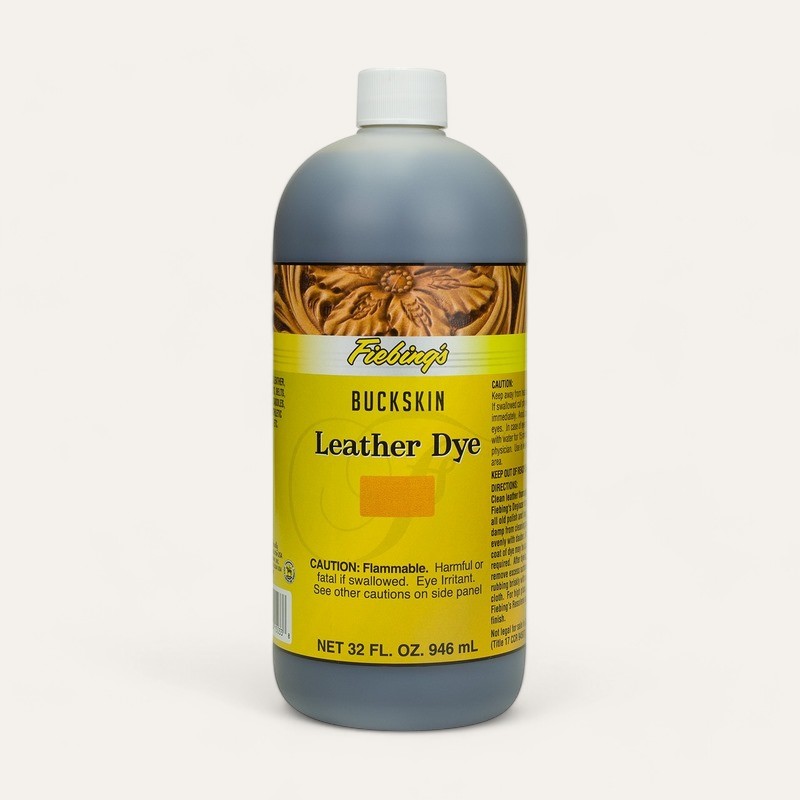
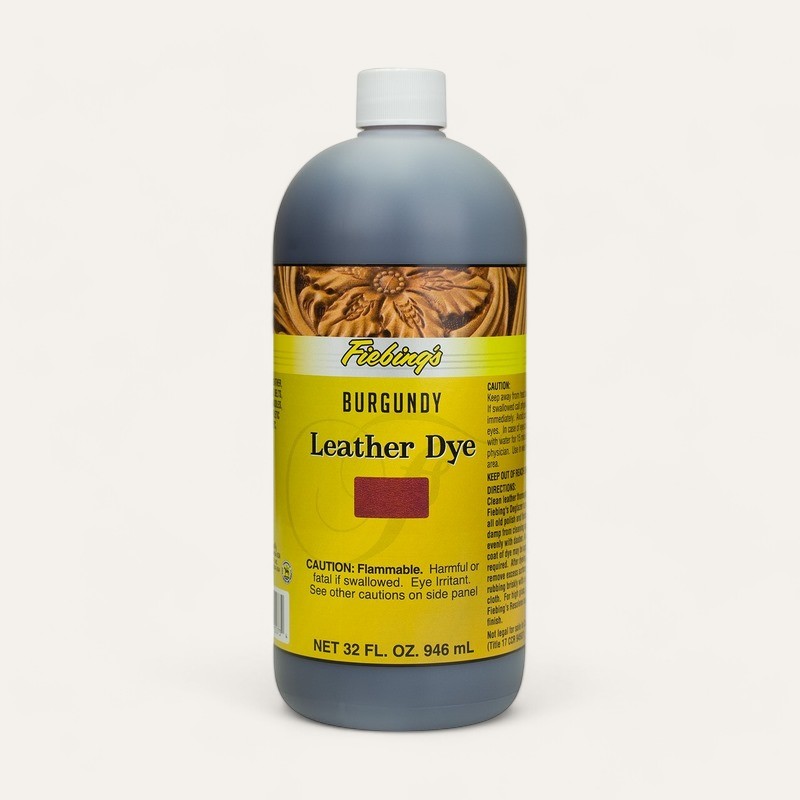
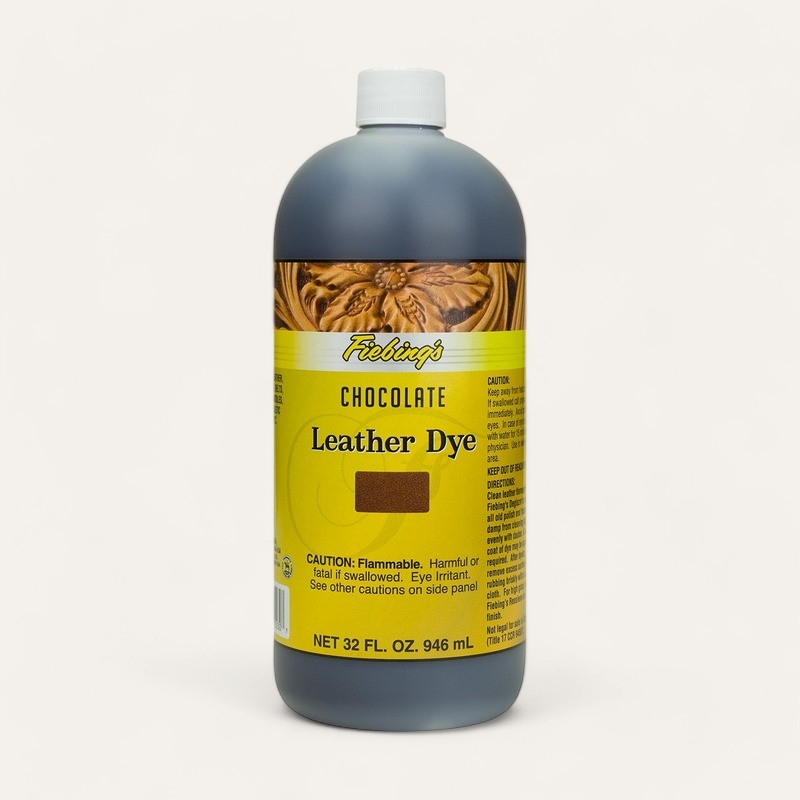
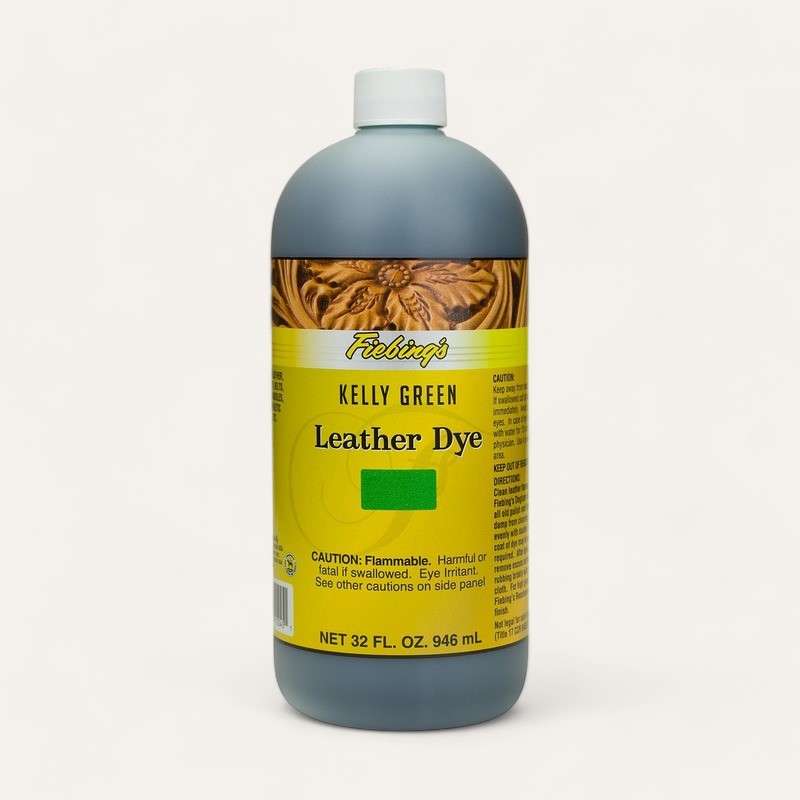
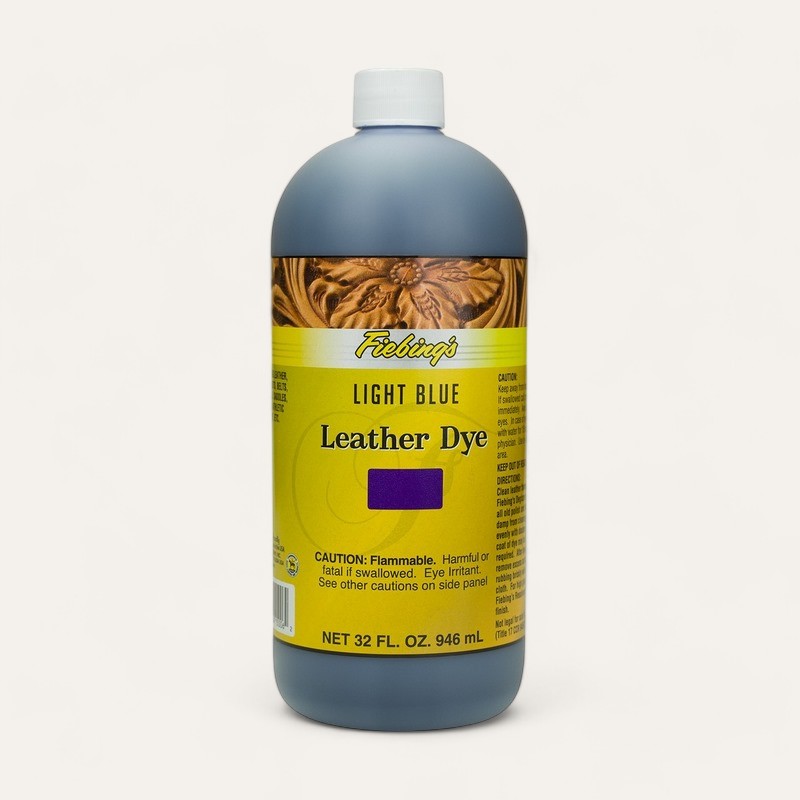
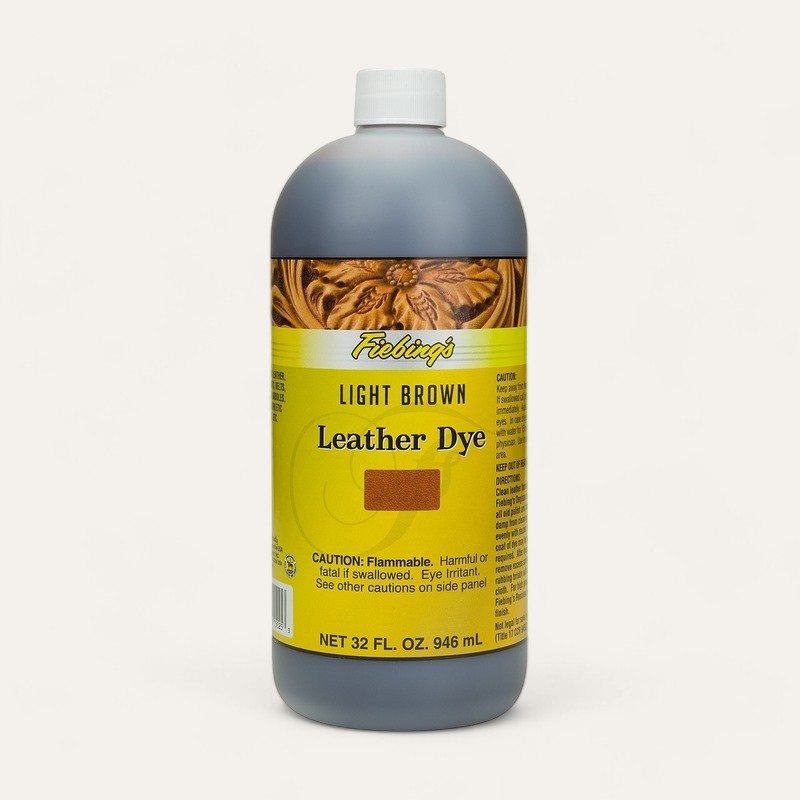
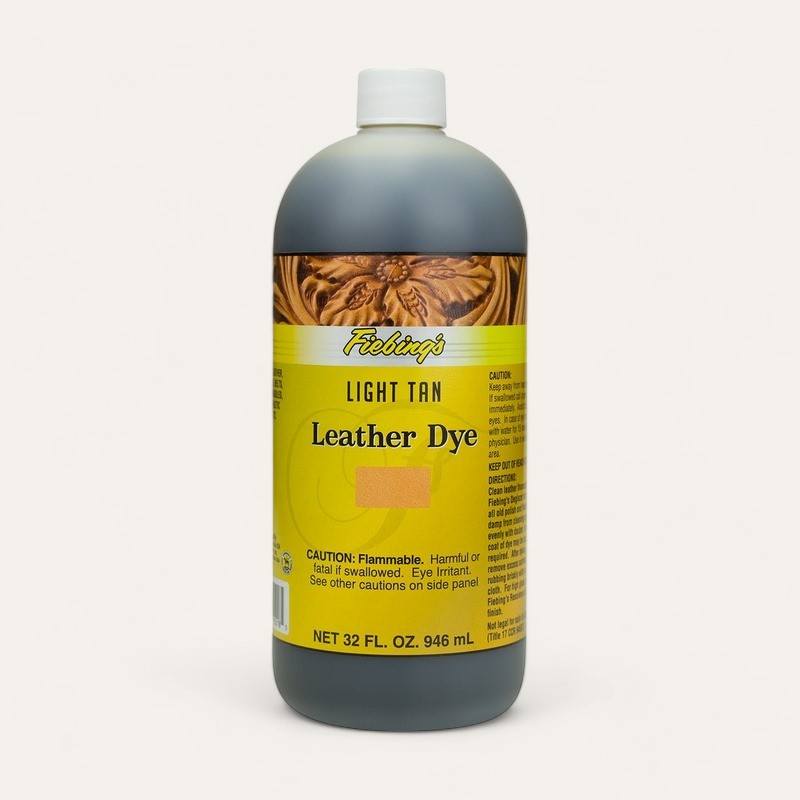
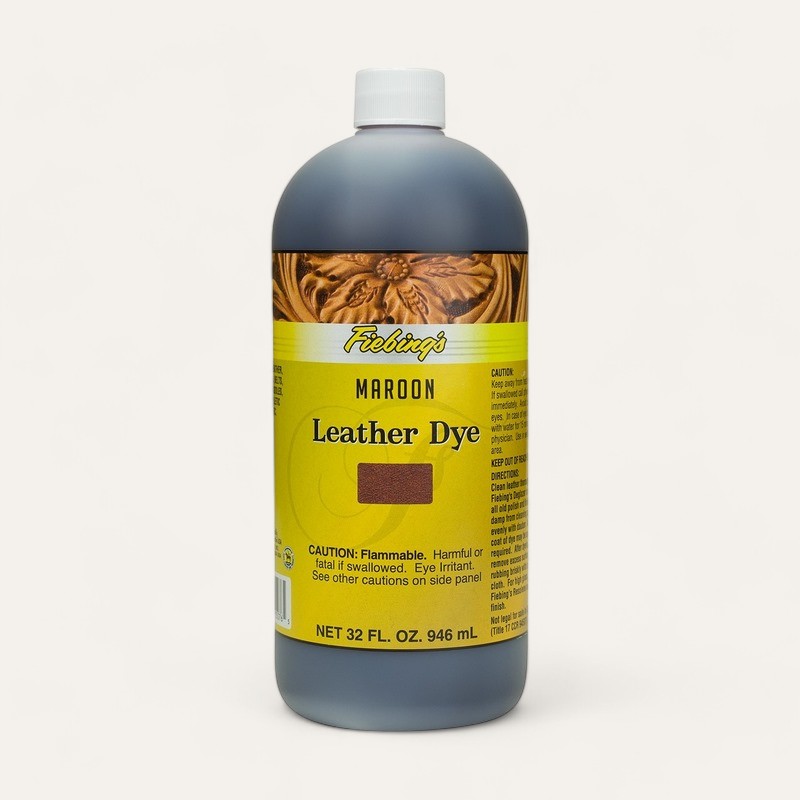
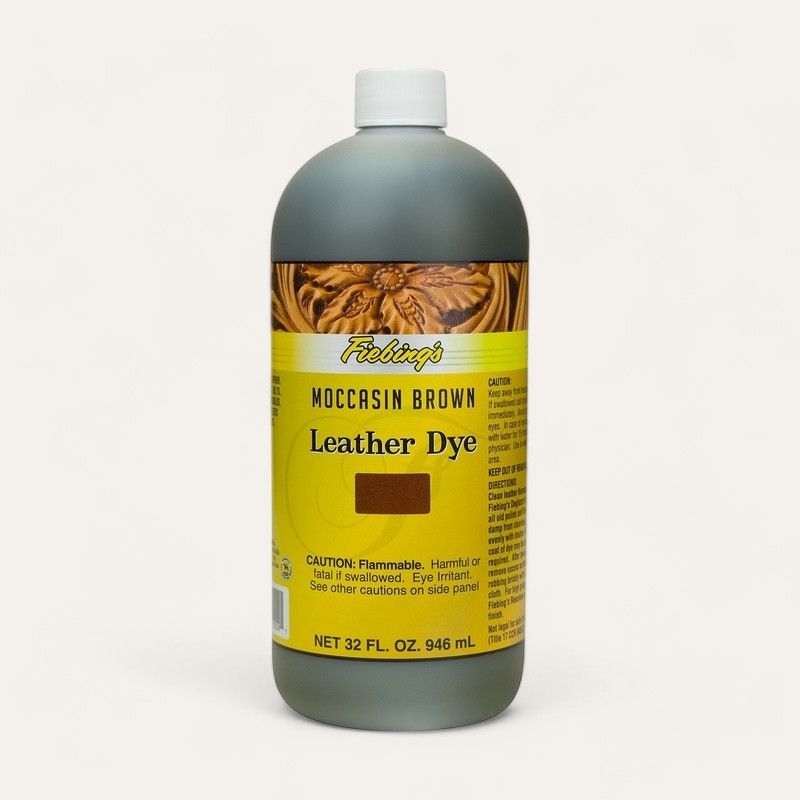
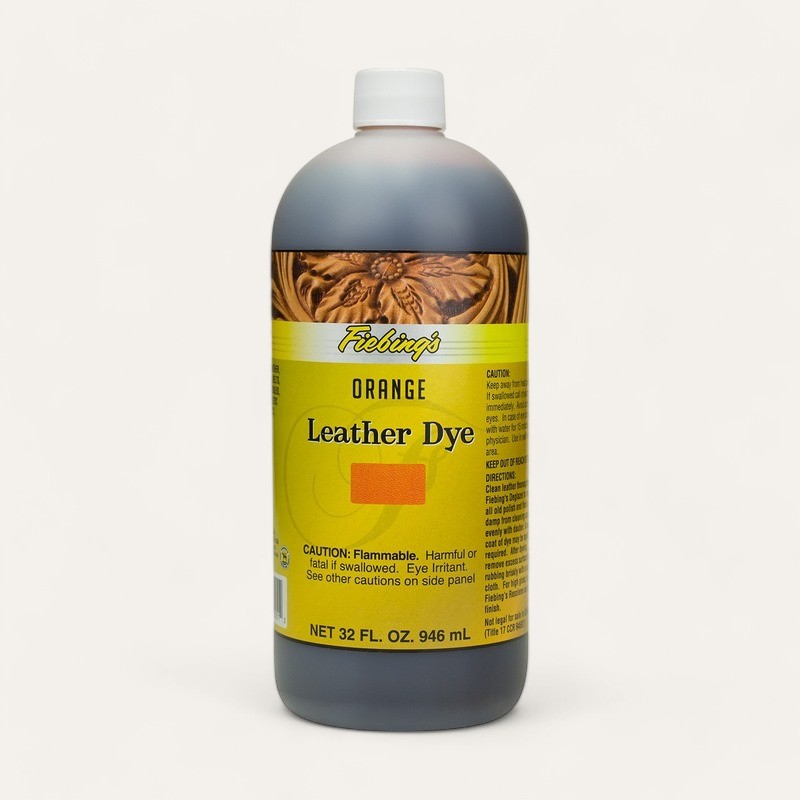
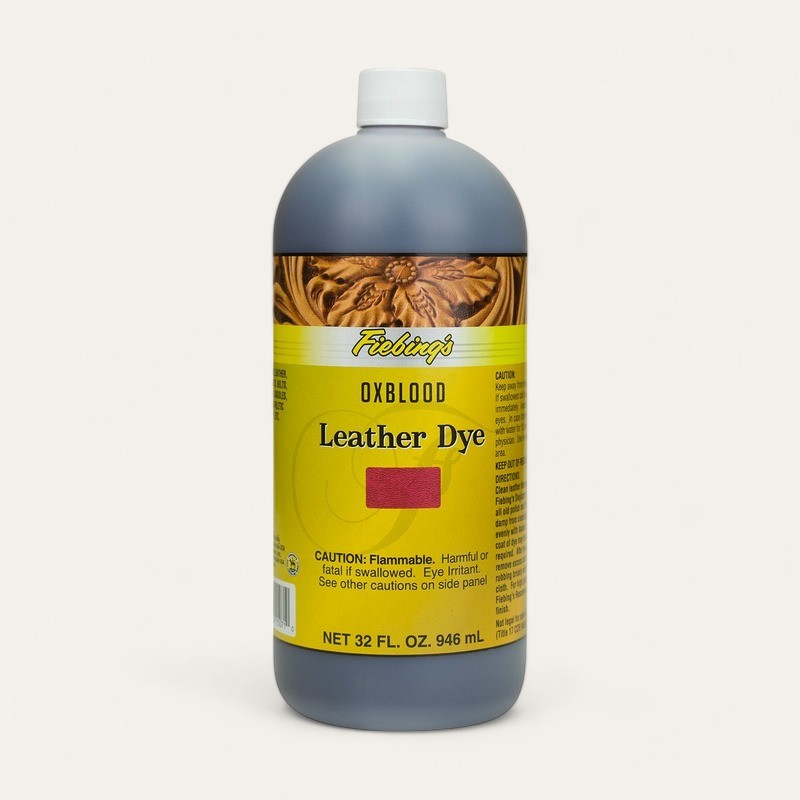
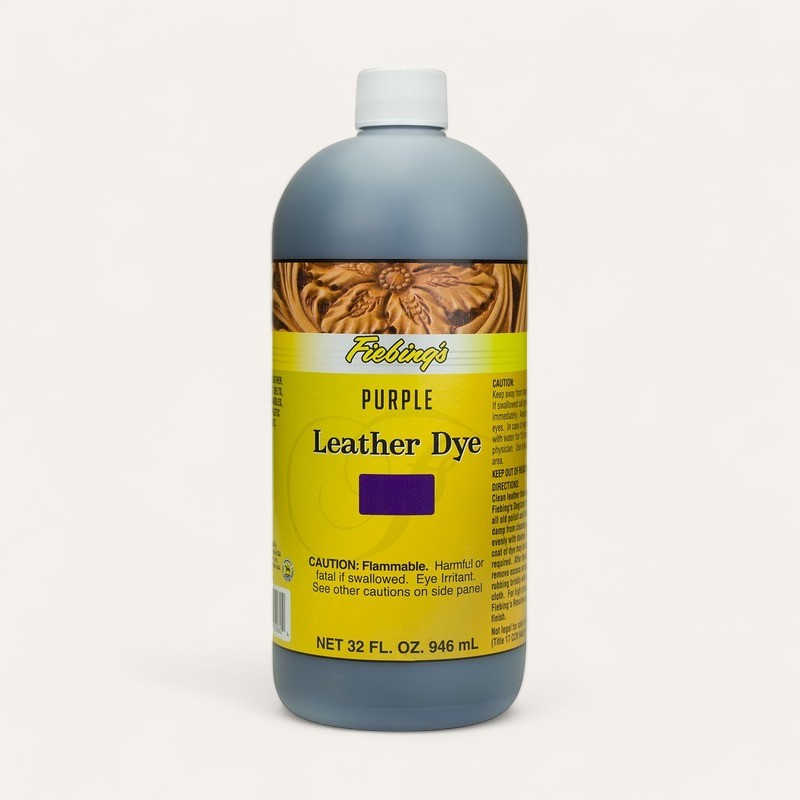
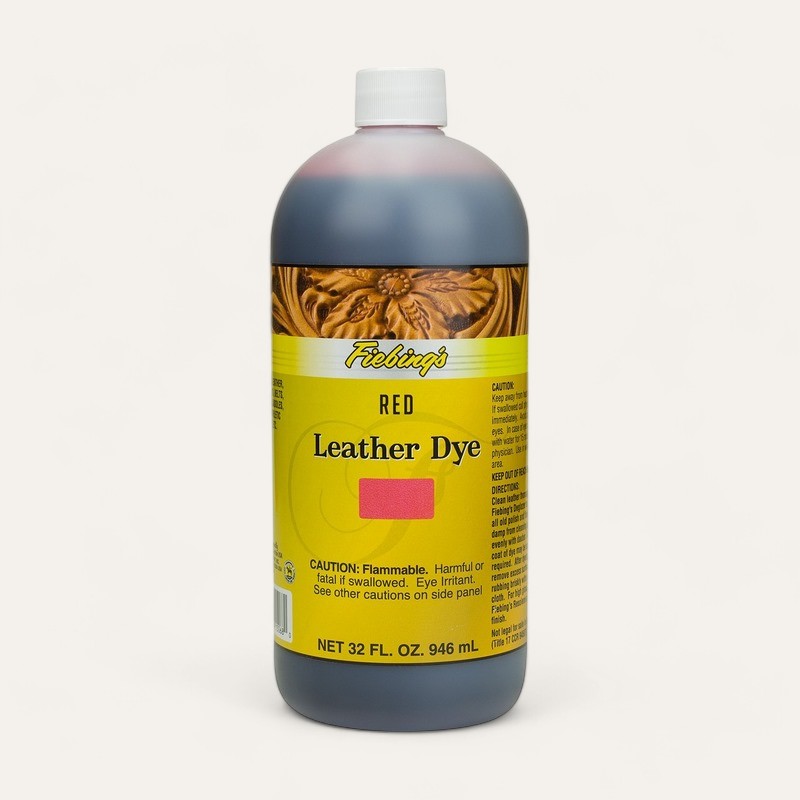
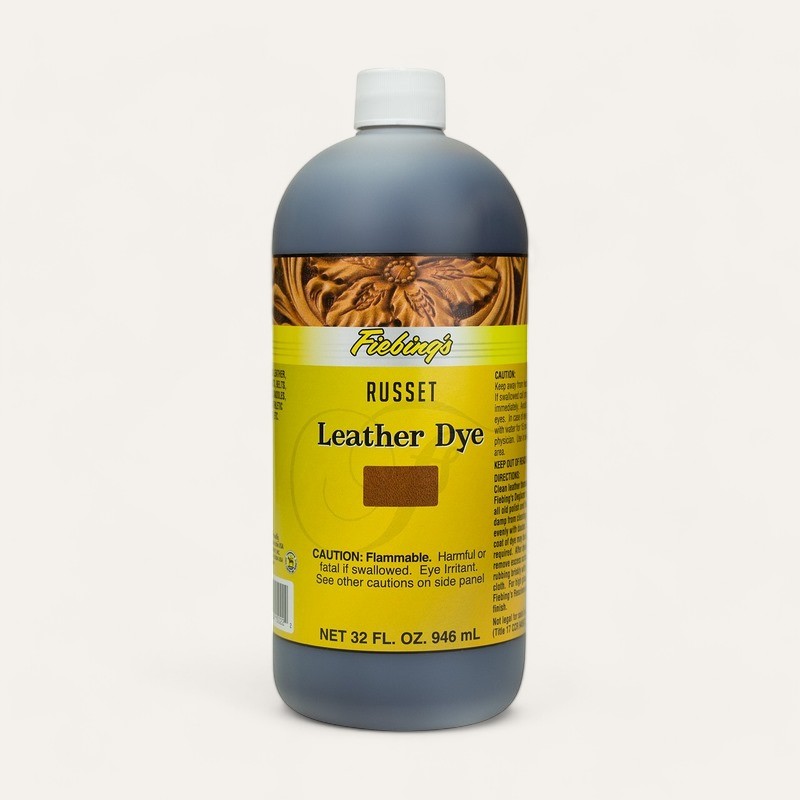
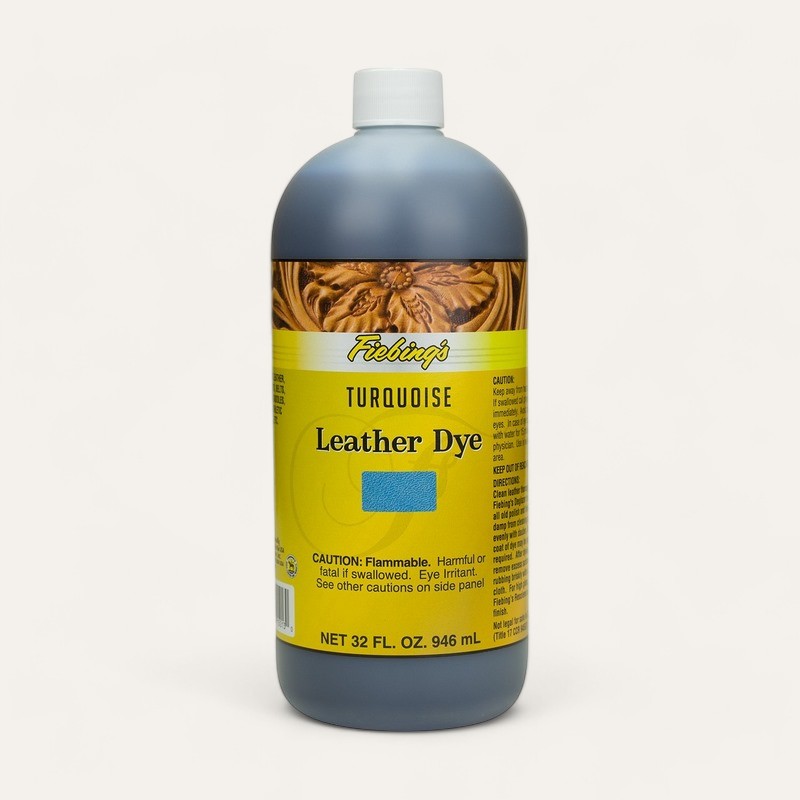
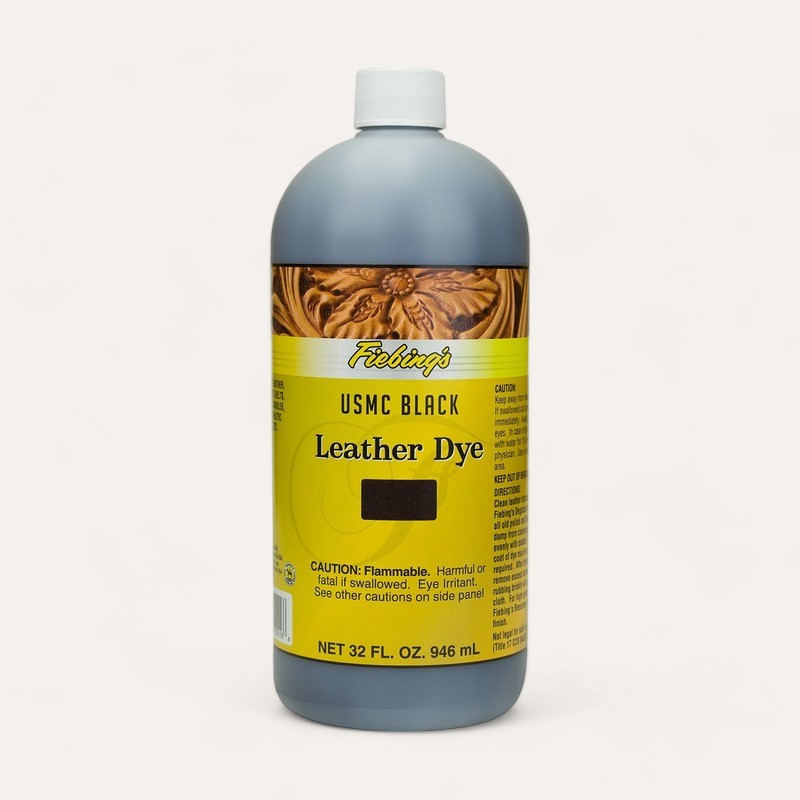
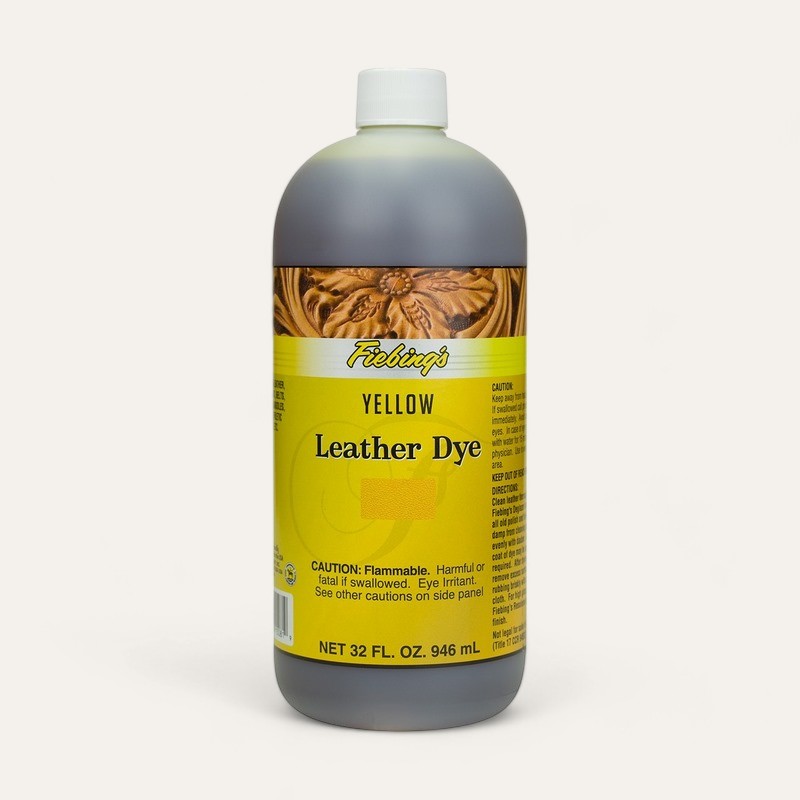
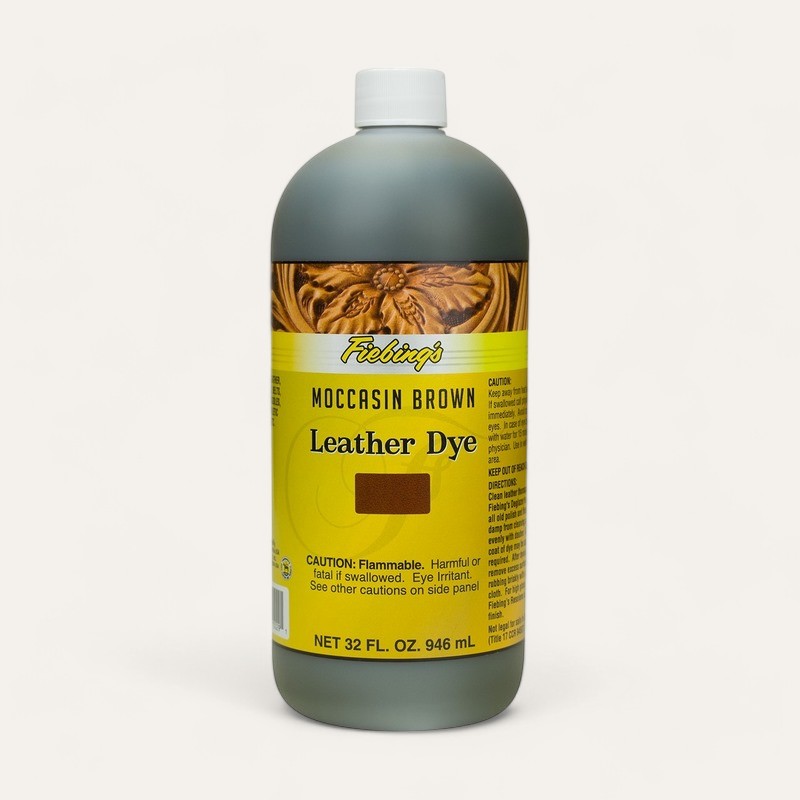
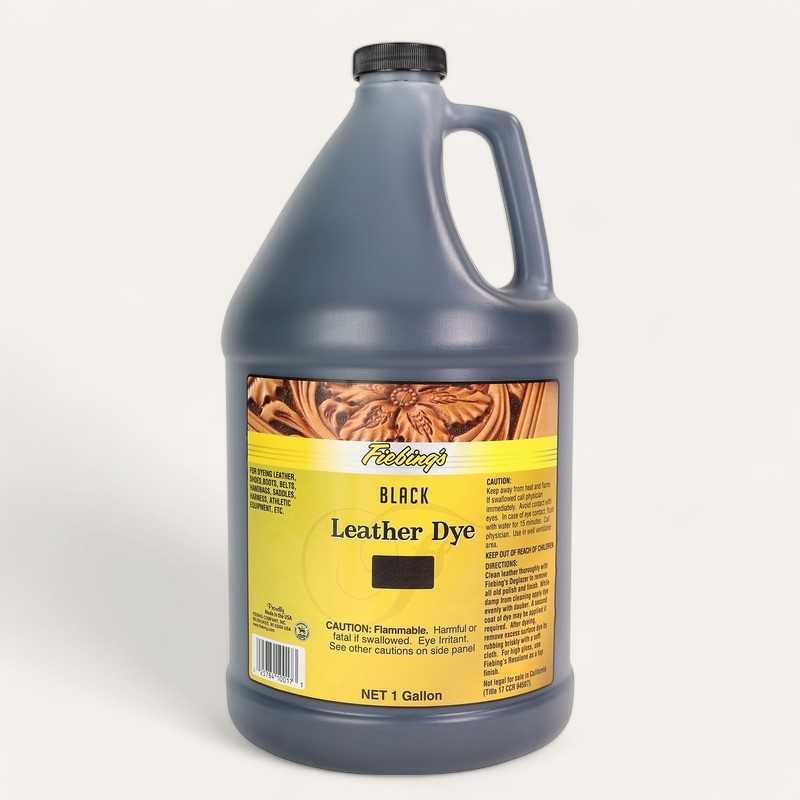
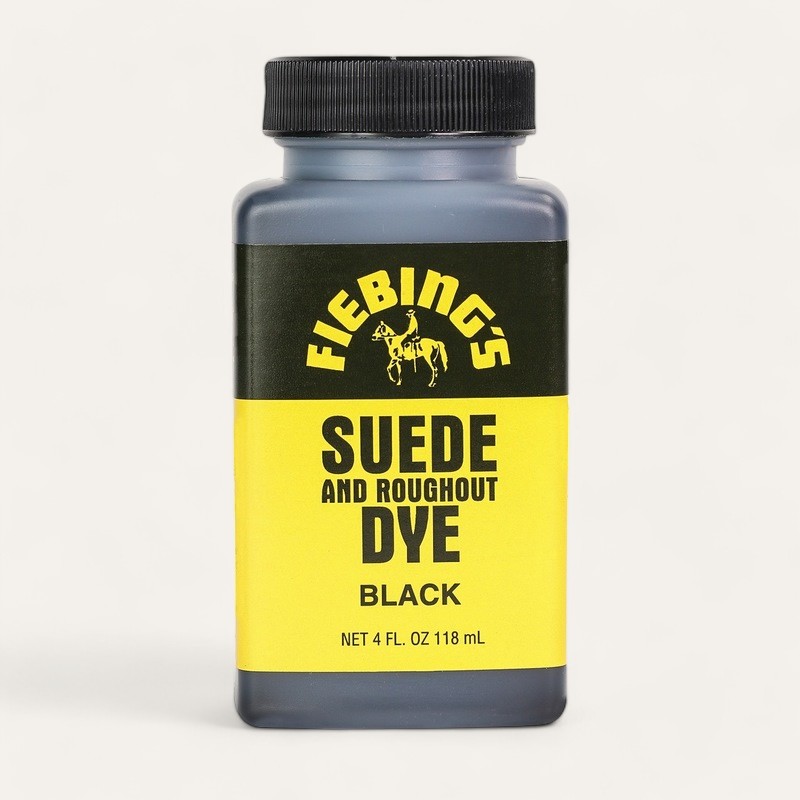
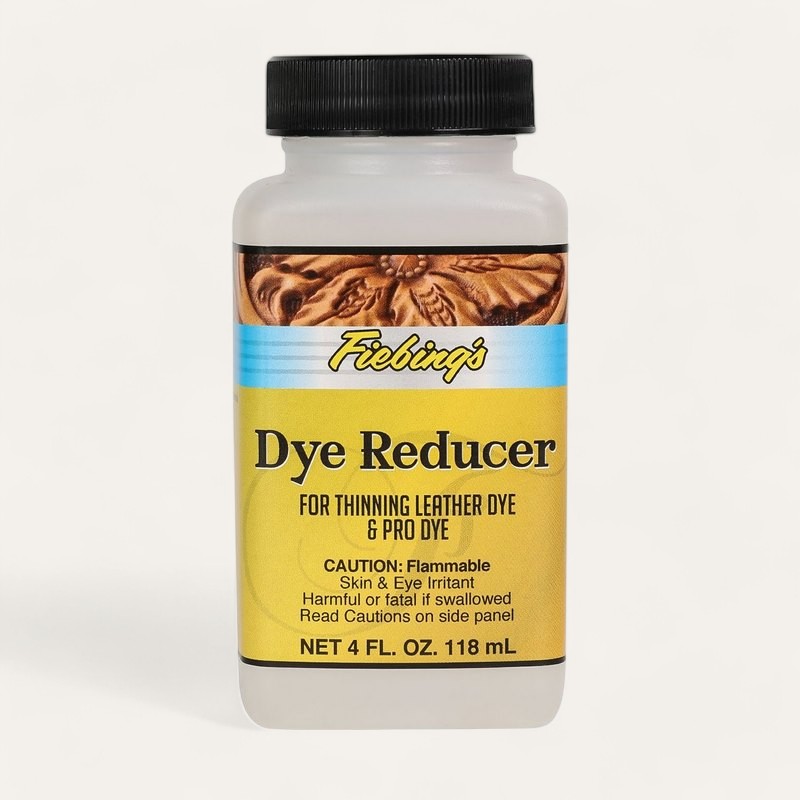
By design, Fiebing’s Leather Dye works as a penetrating dye. That means that the dye is absorbed into the leather to color it and doesn’t simply paint the surface. The result, when done correctly, is a beautifully colored leather article that enhances the natural beauty of leather and all of its attributes.
To re-dye smooth leather articles is basically a 3 step process which requires stripping of old finish, dyeing the leather, then sealing the leather with a top finish. Please note that dyeing leather is an art and not a science. All leathers take dye differently depending on the type of leather, tannage, etc. It is best to practice on a scrap piece of leather before using on valued articles.
- Stripping Finish. In order to re-dye a leather article, the surface must be as near to the natural leather as possible to allow the dye to penetrate. Any old dye, paint or top finish will create a barrier to entry and the dye will not penetrate. If there is any barrier to entry then the dye, when dry, will likely rub off. To strip old dye and finish use Fiebing’s Deglazer.
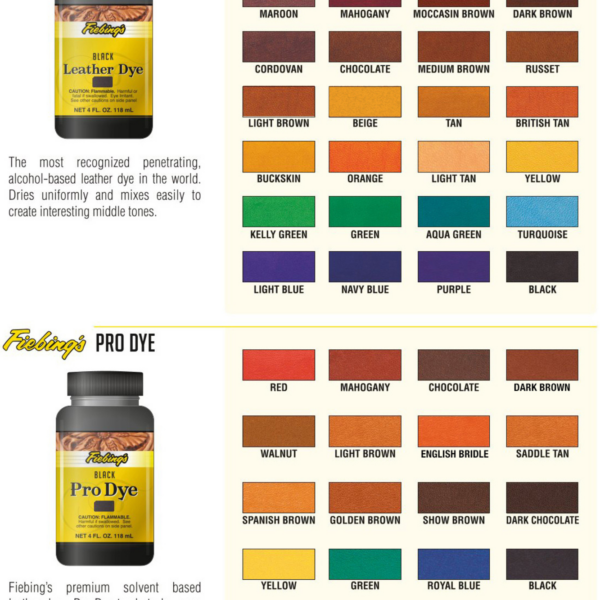
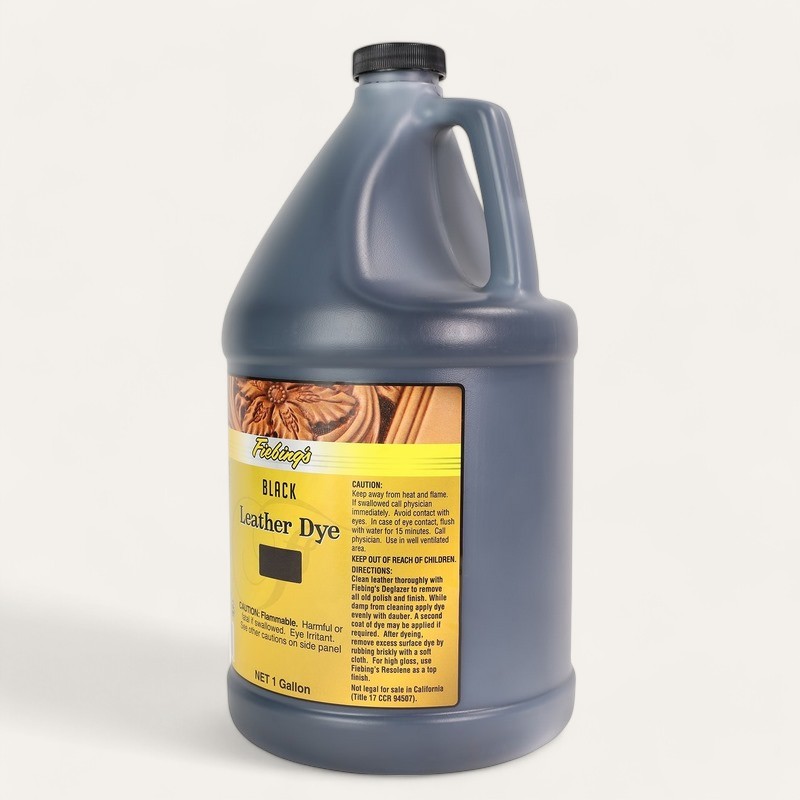
- Dyeing the leather. Once the surface of the leather is clean, you can apply Fiebing’s Leather Dye with a wool dauber or soft applicator of choice. Use circular motions to apply the dye to avoid streaking. Fiebing’s Pro Dye is our premium leather dye that is more color fast, offers more vivid colors and is less likely to fade over time in sunlight. You choose which dye is right for your project.
- Tip 1: Fiebing’s dye can be mixed to create infinite colors, tones and shades. If you do mix dye, be sure to make notes of your ratios so you can recreate that desired custom color later.
- Tip 2: Test on scrap leather or a discreet spot to be sure you are happy with the color and application.
- Tip 3: Use Fiebing’s Dye Reducer to dilute both Fiebing’s Leather Dye and Fiebing’s Pro Dye to lighten any color.
- Tip 4: If you are dyeing any upholstery with foam padding, do not apply too much dye as the foam may deteriorate and dye may saturate padding and will continue to bleed to surface.
- Sealing the leather. Once the dye is dry, use a soft, clean cloth to buff the surface. This will remove any dye that has not penetrated the leather. Once the surface of the leather is clean and buffed, use Fiebing’s Resolene to seal the leather. Resolene also provides a water resistant finish.
- Tip 1: Always stir Resolene before using, do not shake to avoid creating bubbles.
- Tip 2: Apply Fiebing’s Resolene with a damp, fine cell Fiebing’s Leathercraft Sponge. This will reduce the potential for both streaking and “fish eyes” (bubbles on the surface that have dried) when the finish is dry. Resolene may have a blue tint to it when applied, but when dry is a clear and glossy finish. Apply a light coat.
Click here for a video demonstration of how to redye leather upholstery

